
The Ultimate Guide to Drywall Repair: Tips from the Pros


Understanding Drywall
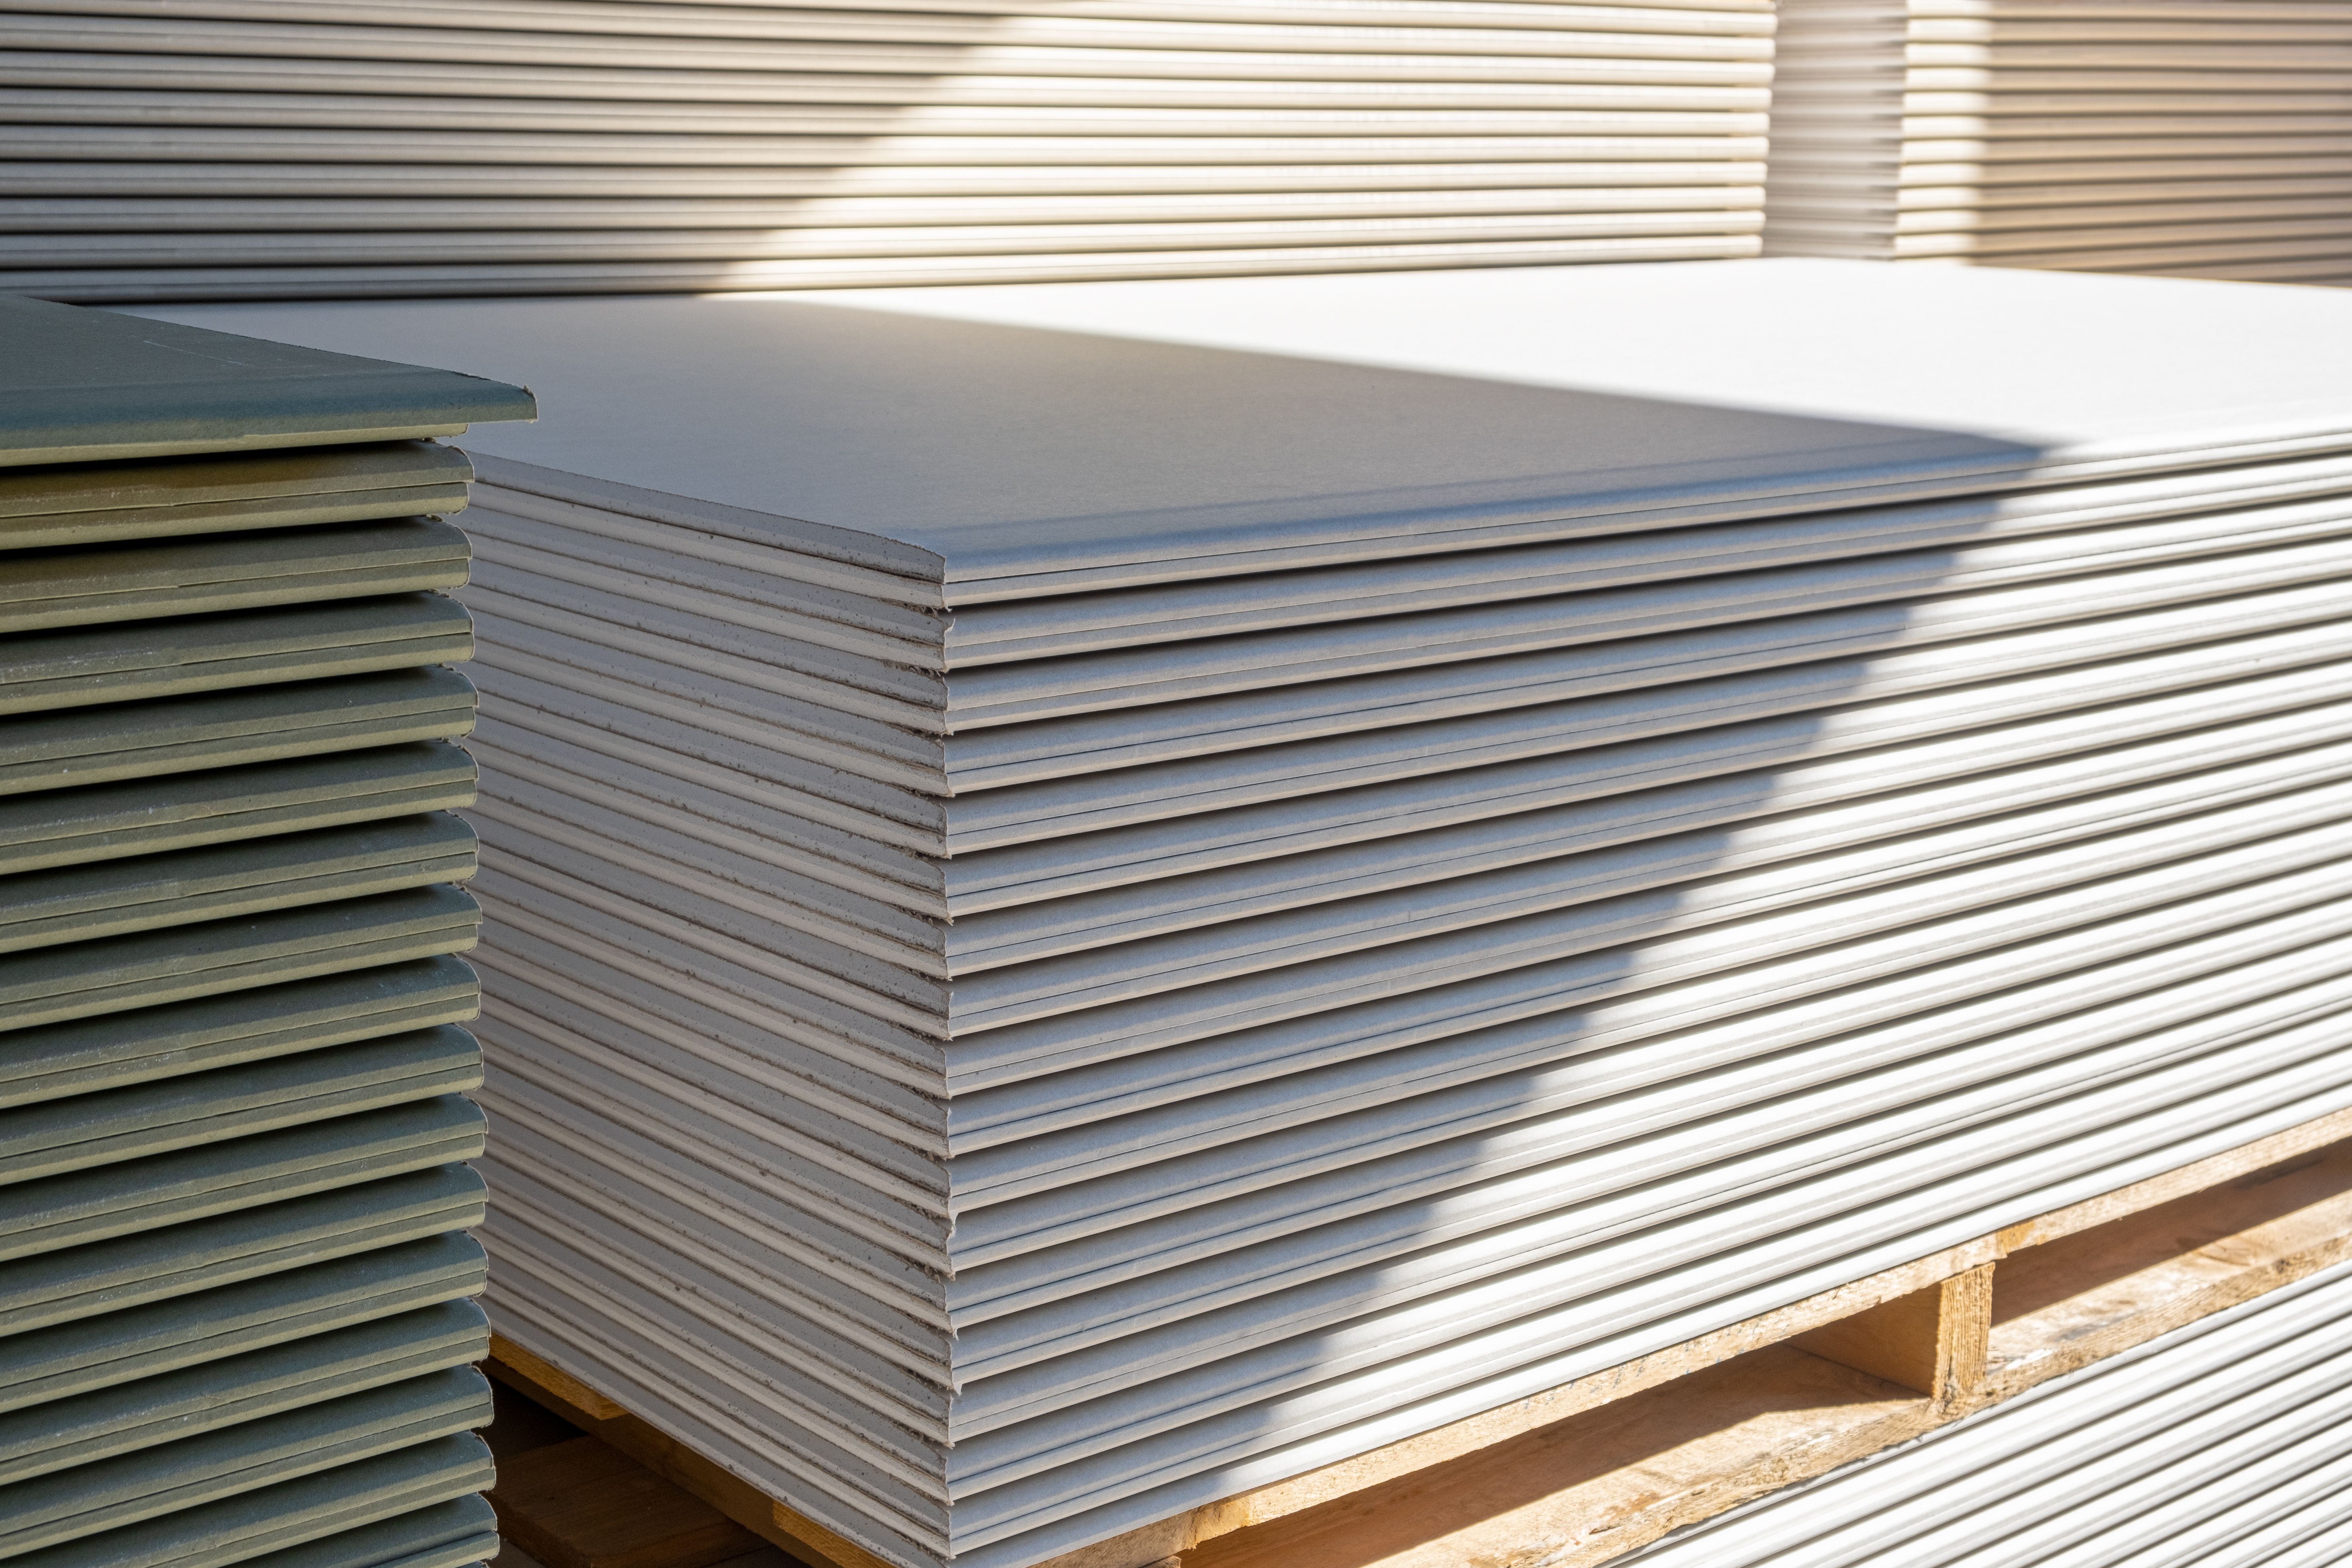
Drywall, also known as plasterboard or gypsum board, is a construction material used to create walls and ceilings. It's a versatile and cost-effective solution, but it can be prone to damage. Understanding the basics of drywall is the first step in mastering its repair.
Drywall comes in various thicknesses and sizes, and it's important to know what type you have before starting any repair work. The most common thickness is 1/2 inch, but 5/8 inch is often used for ceilings due to its added strength. Knowing the type of drywall will help you choose the right materials for the job.
Common Drywall Issues
Before diving into repairs, it's essential to identify the common problems you might encounter with drywall. Some of the most frequent issues include:
- Holes: These can range from small nail holes to larger holes caused by accidents.
- Cracks: Often appear due to settling of the building or improper installation.
- Water Damage: Caused by leaks or high humidity, leading to stains and weakened drywall.
Each issue requires a different approach, so it's crucial to assess the damage accurately before proceeding with repairs.
Tools and Materials Needed
Having the right tools and materials is essential for a successful drywall repair. Here’s a list of items you’ll need:
- Utility knife
- Drywall saw
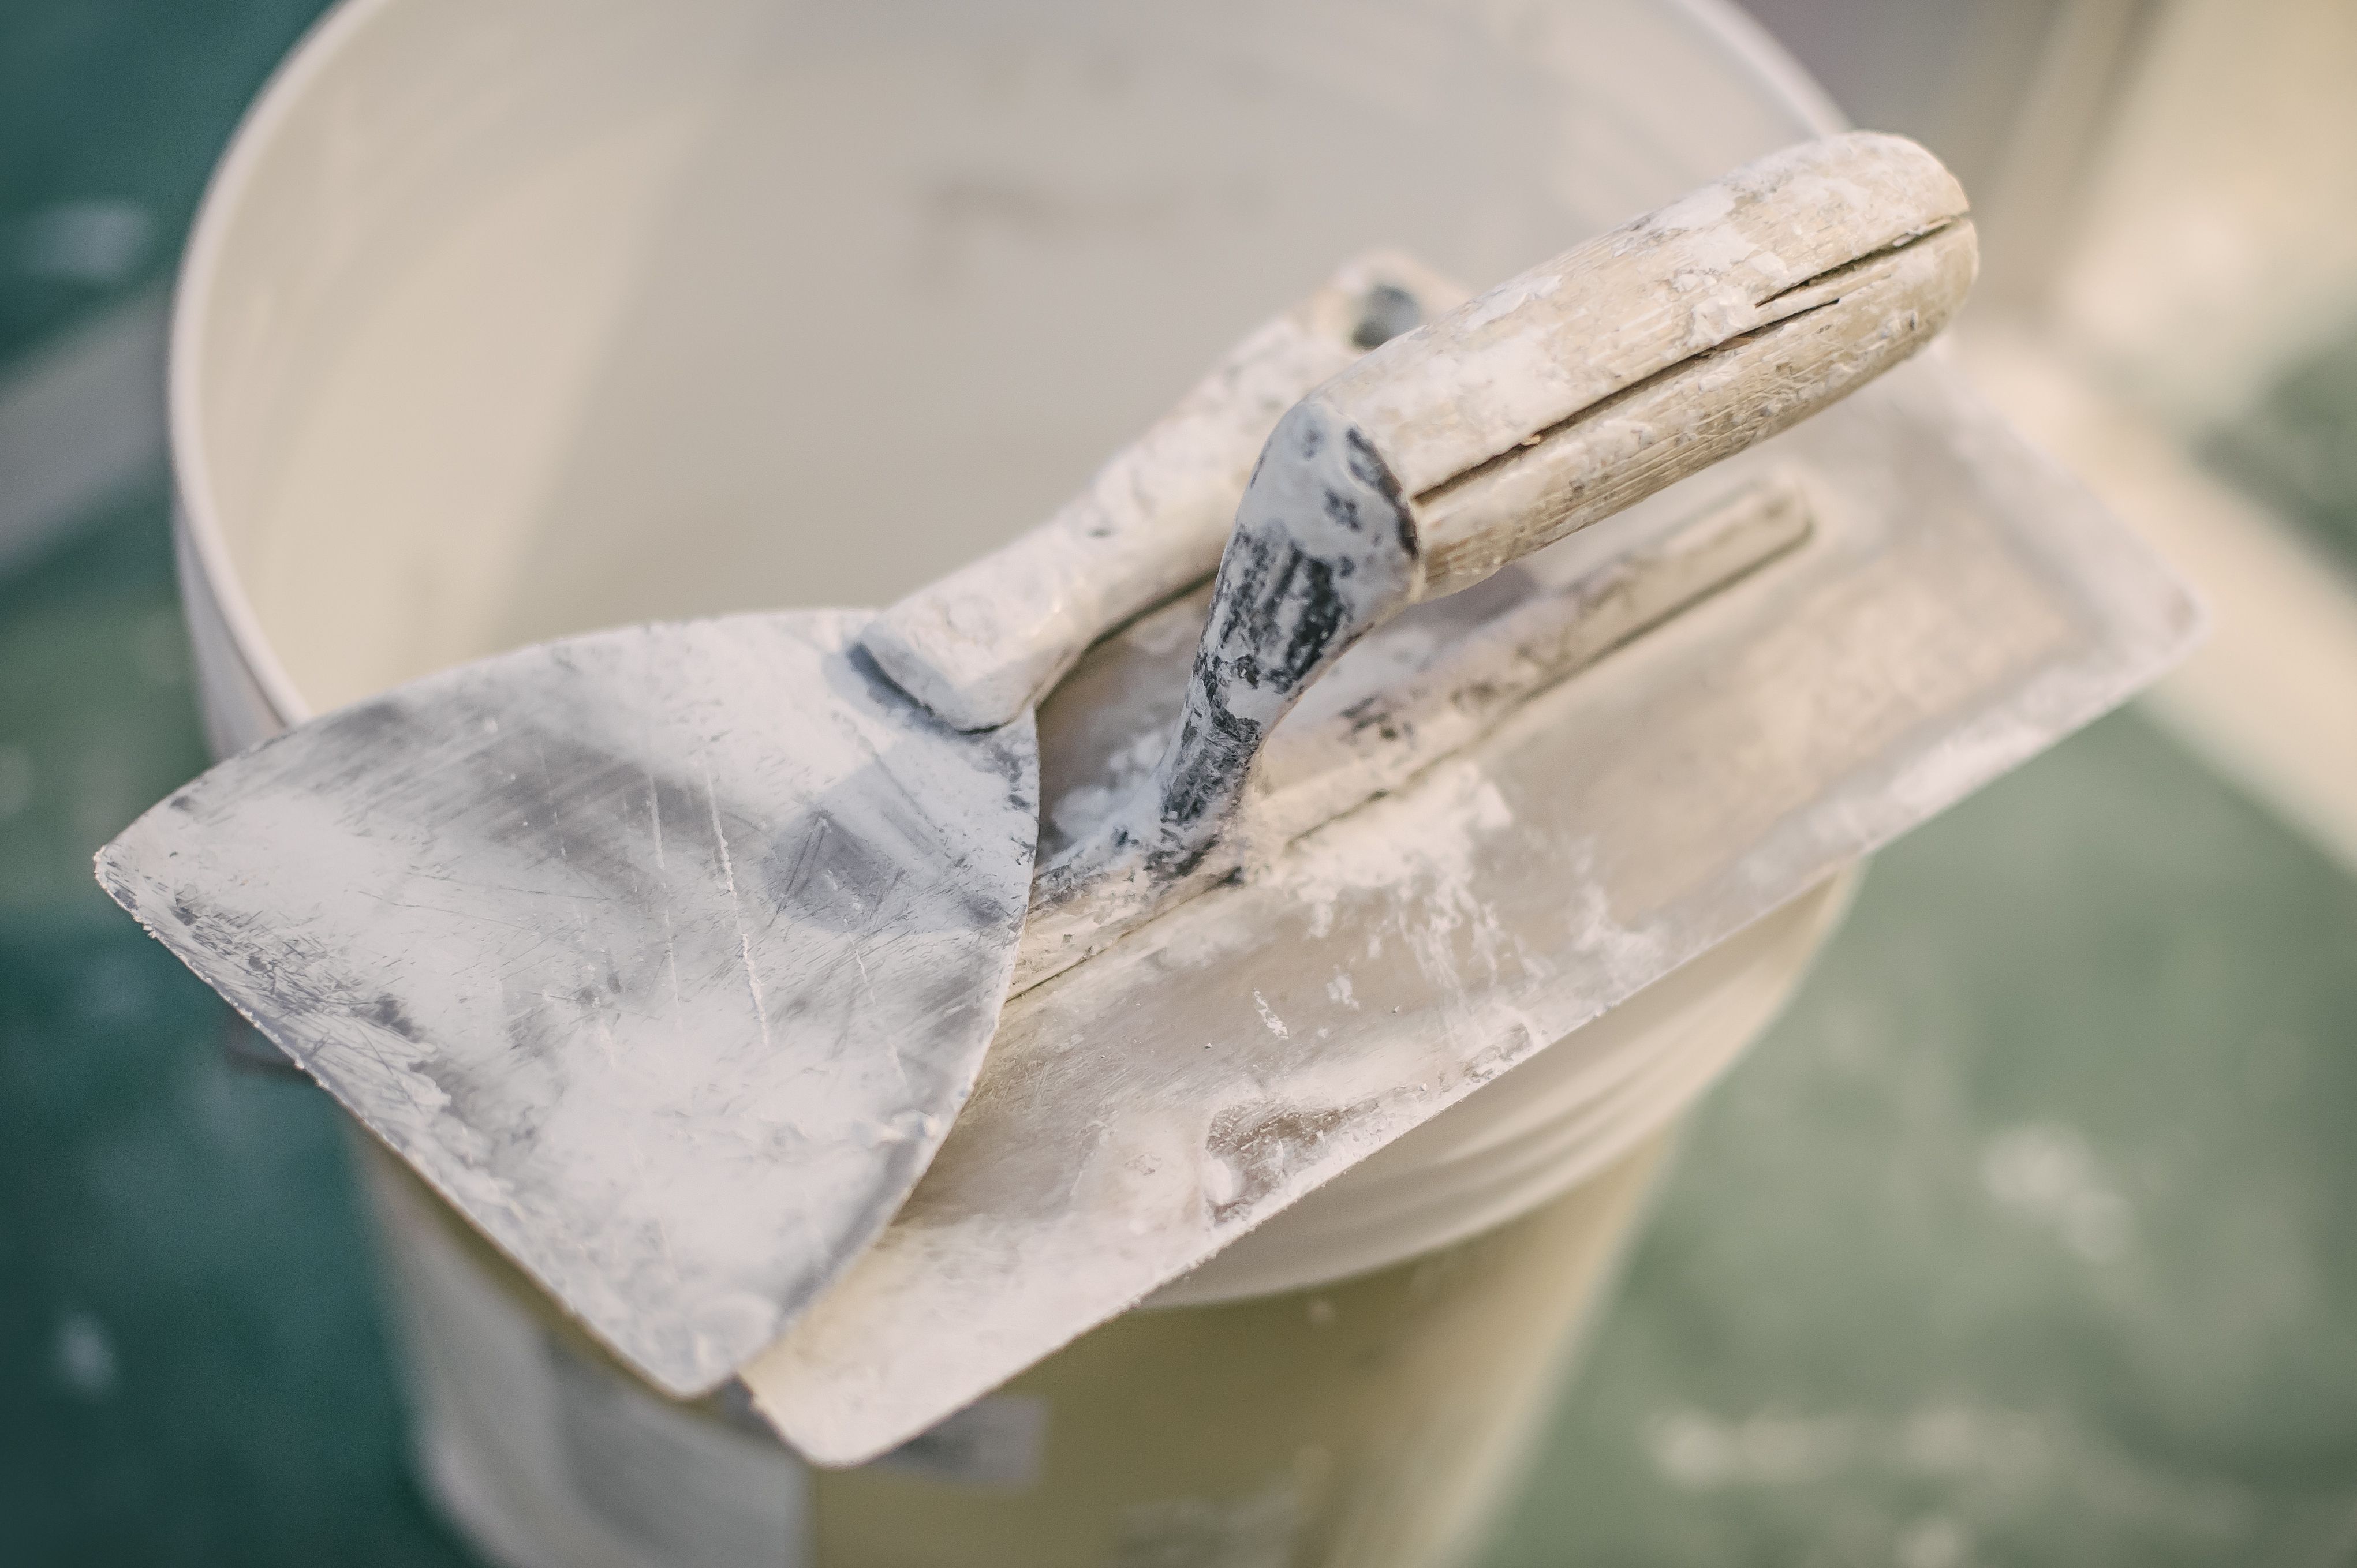
- Putty knife
- Drywall tape
- Joint compound
- Sandpaper
- Drywall screws
- Drywall patch kit (for larger holes)
Ensure you have all these items on hand before starting your repair to avoid interruptions.
Step-by-Step Repair Guide
Repairing Small Holes
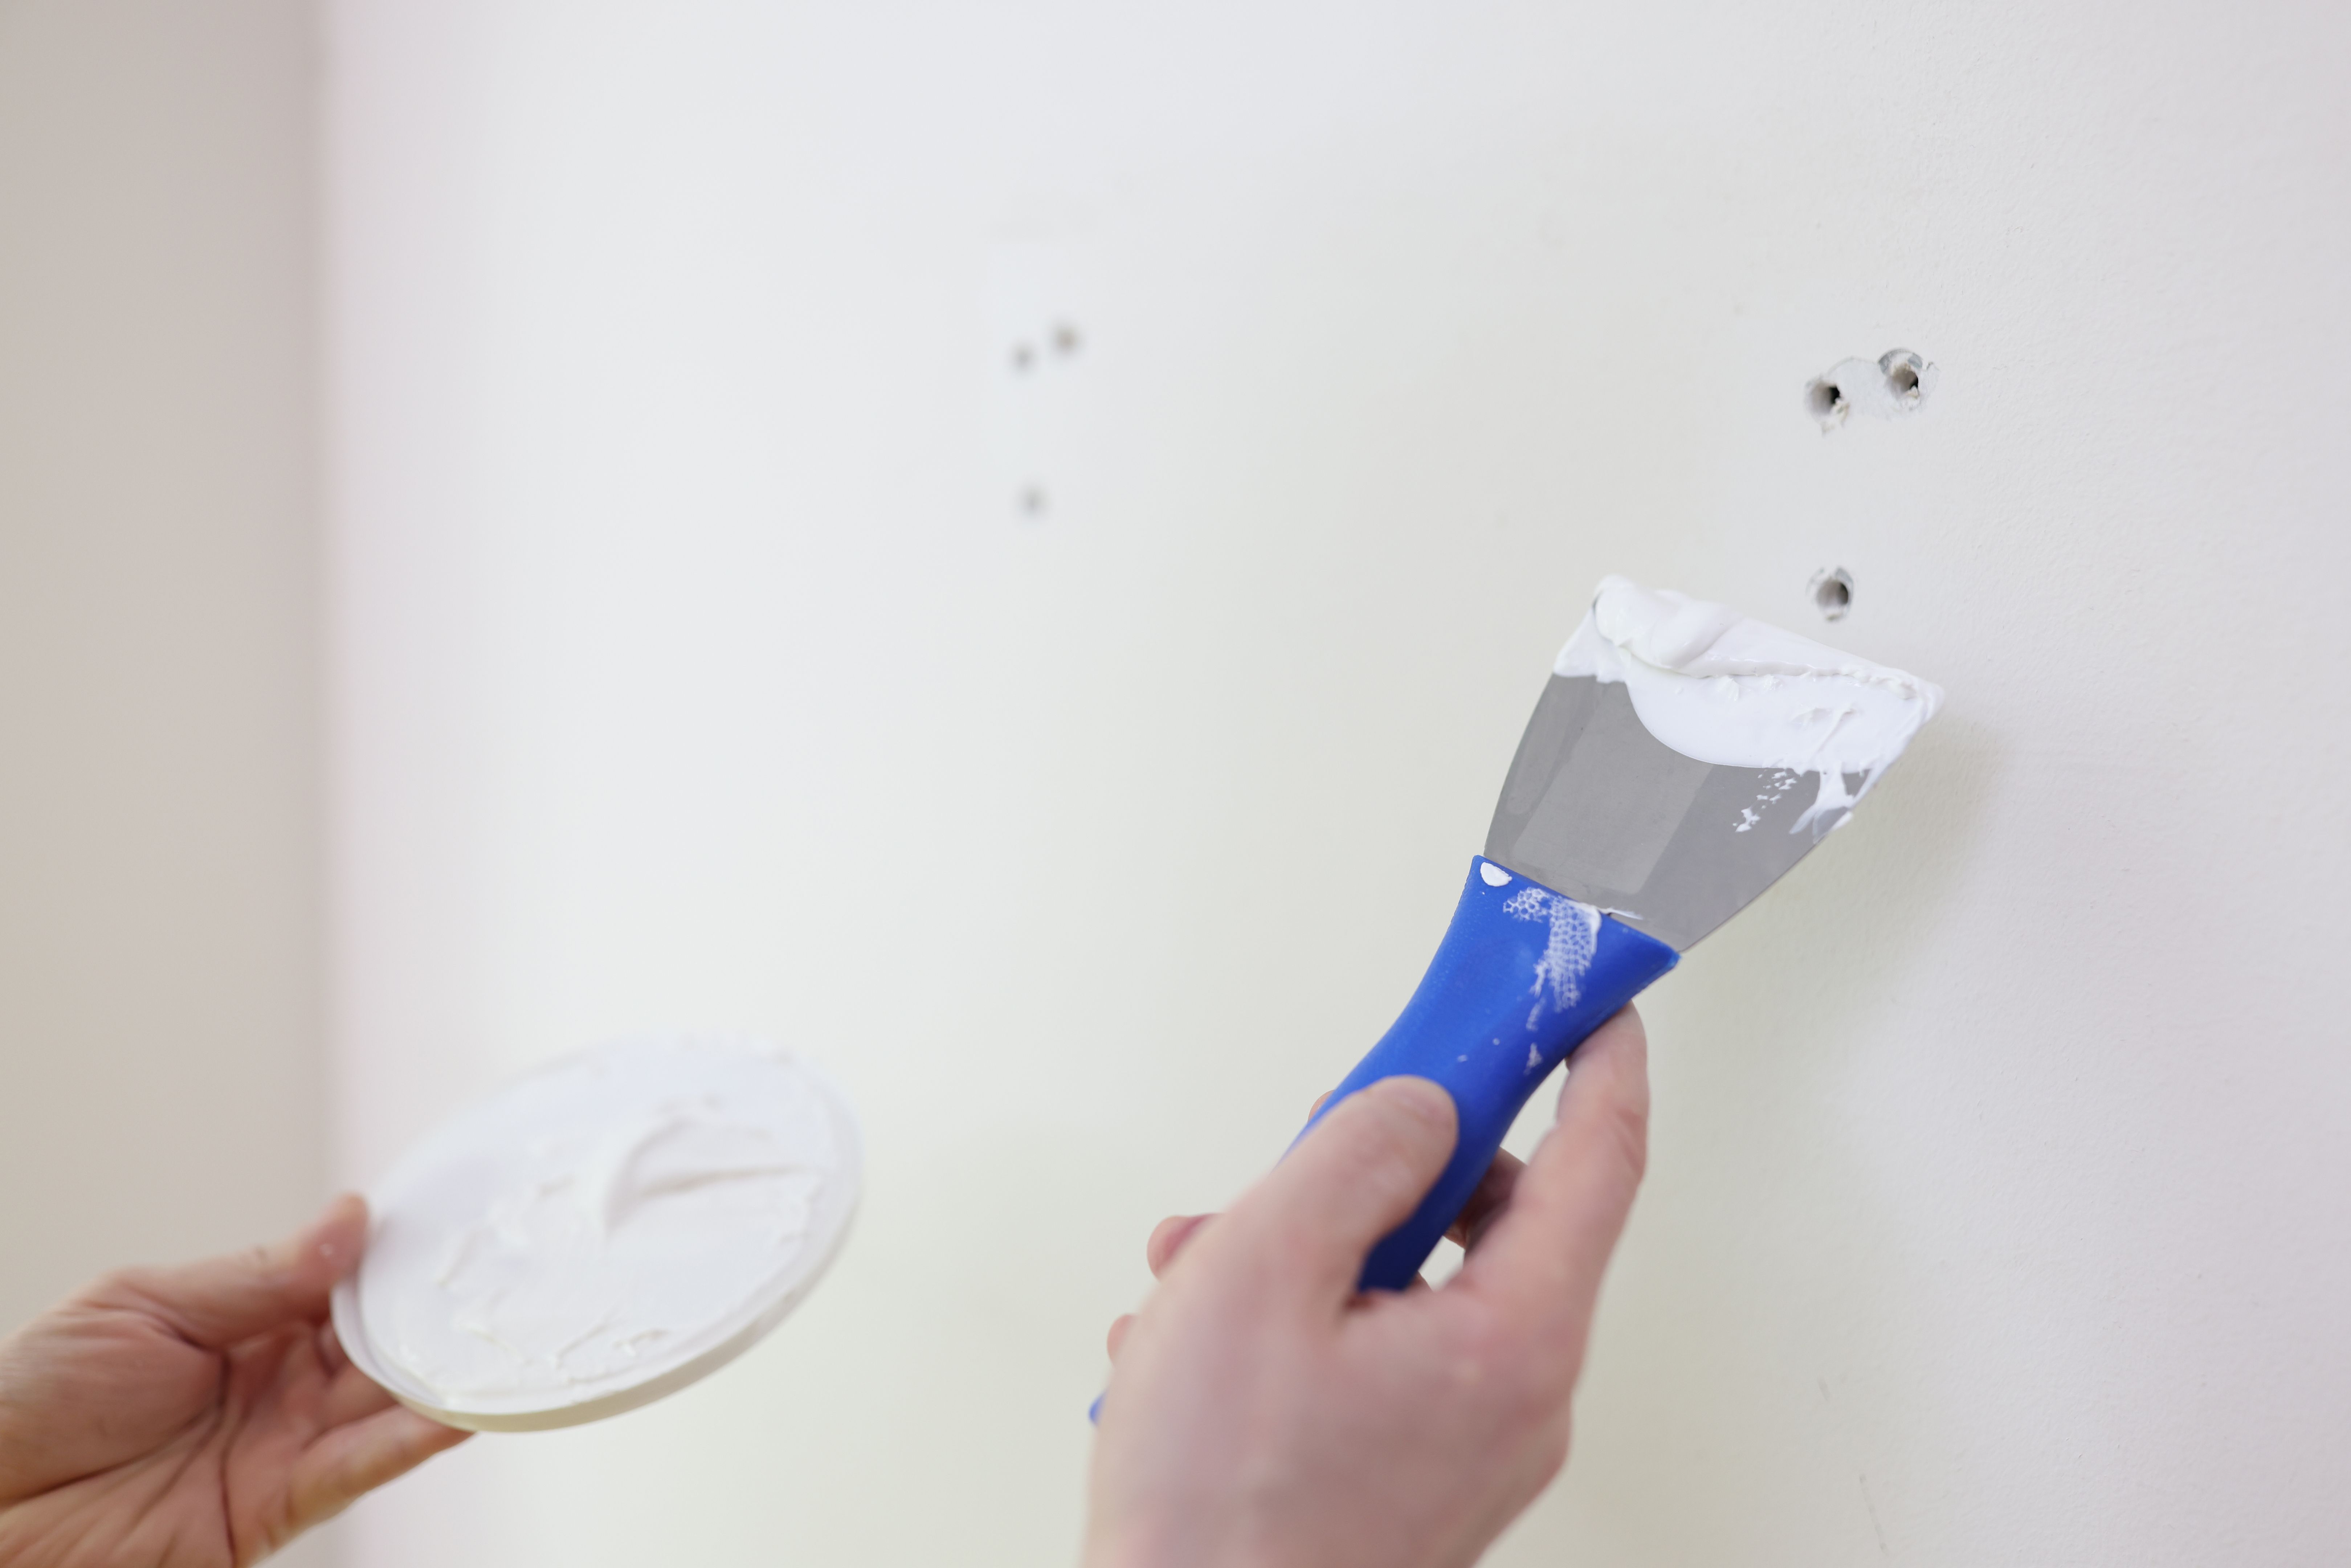
For small holes, such as those left by nails or screws, follow these steps:
- Clean the area around the hole.
- Apply a small amount of joint compound with a putty knife.
- Let it dry completely, then sand it smooth.
- Paint over the patch to match the surrounding wall.
Fixing Larger Holes
For larger holes, a more involved process is required:
- Cut a piece of drywall to fit the hole, ensuring it’s slightly larger than the damaged area.
- Trace the patch onto the wall and cut out the damaged area with a drywall saw.
- Attach the patch to the wall using drywall screws.
- Apply drywall tape around the edges of the patch.
- Cover the tape with joint compound, feathering the edges to blend with the wall.
- Sand the area smooth once the compound is dry, then paint.
Preventing Future Damage
Once you've repaired your drywall, it's important to take steps to prevent future damage. Here are some tips from the pros:
- Install corner guards to protect high-traffic areas.
- Ensure proper ventilation to prevent moisture buildup and water damage.
- Use anchors for heavy items to avoid creating new holes.
By following these tips, you can extend the life of your drywall and maintain a pristine appearance.
Conclusion
Drywall repair might seem daunting, but with the right knowledge and tools, it’s a manageable task. Understanding the common issues, having the necessary materials, and following a step-by-step guide can help you achieve professional results. Remember, practice makes perfect, and with time, you’ll become proficient in drywall repair.
For more tips and advice, stay tuned to our blog, where we share insights from the pros on various home improvement topics.