
How to Patch a Hole in Drywall Yourself: A Step-by-Step Guide


Introduction to Drywall Repair
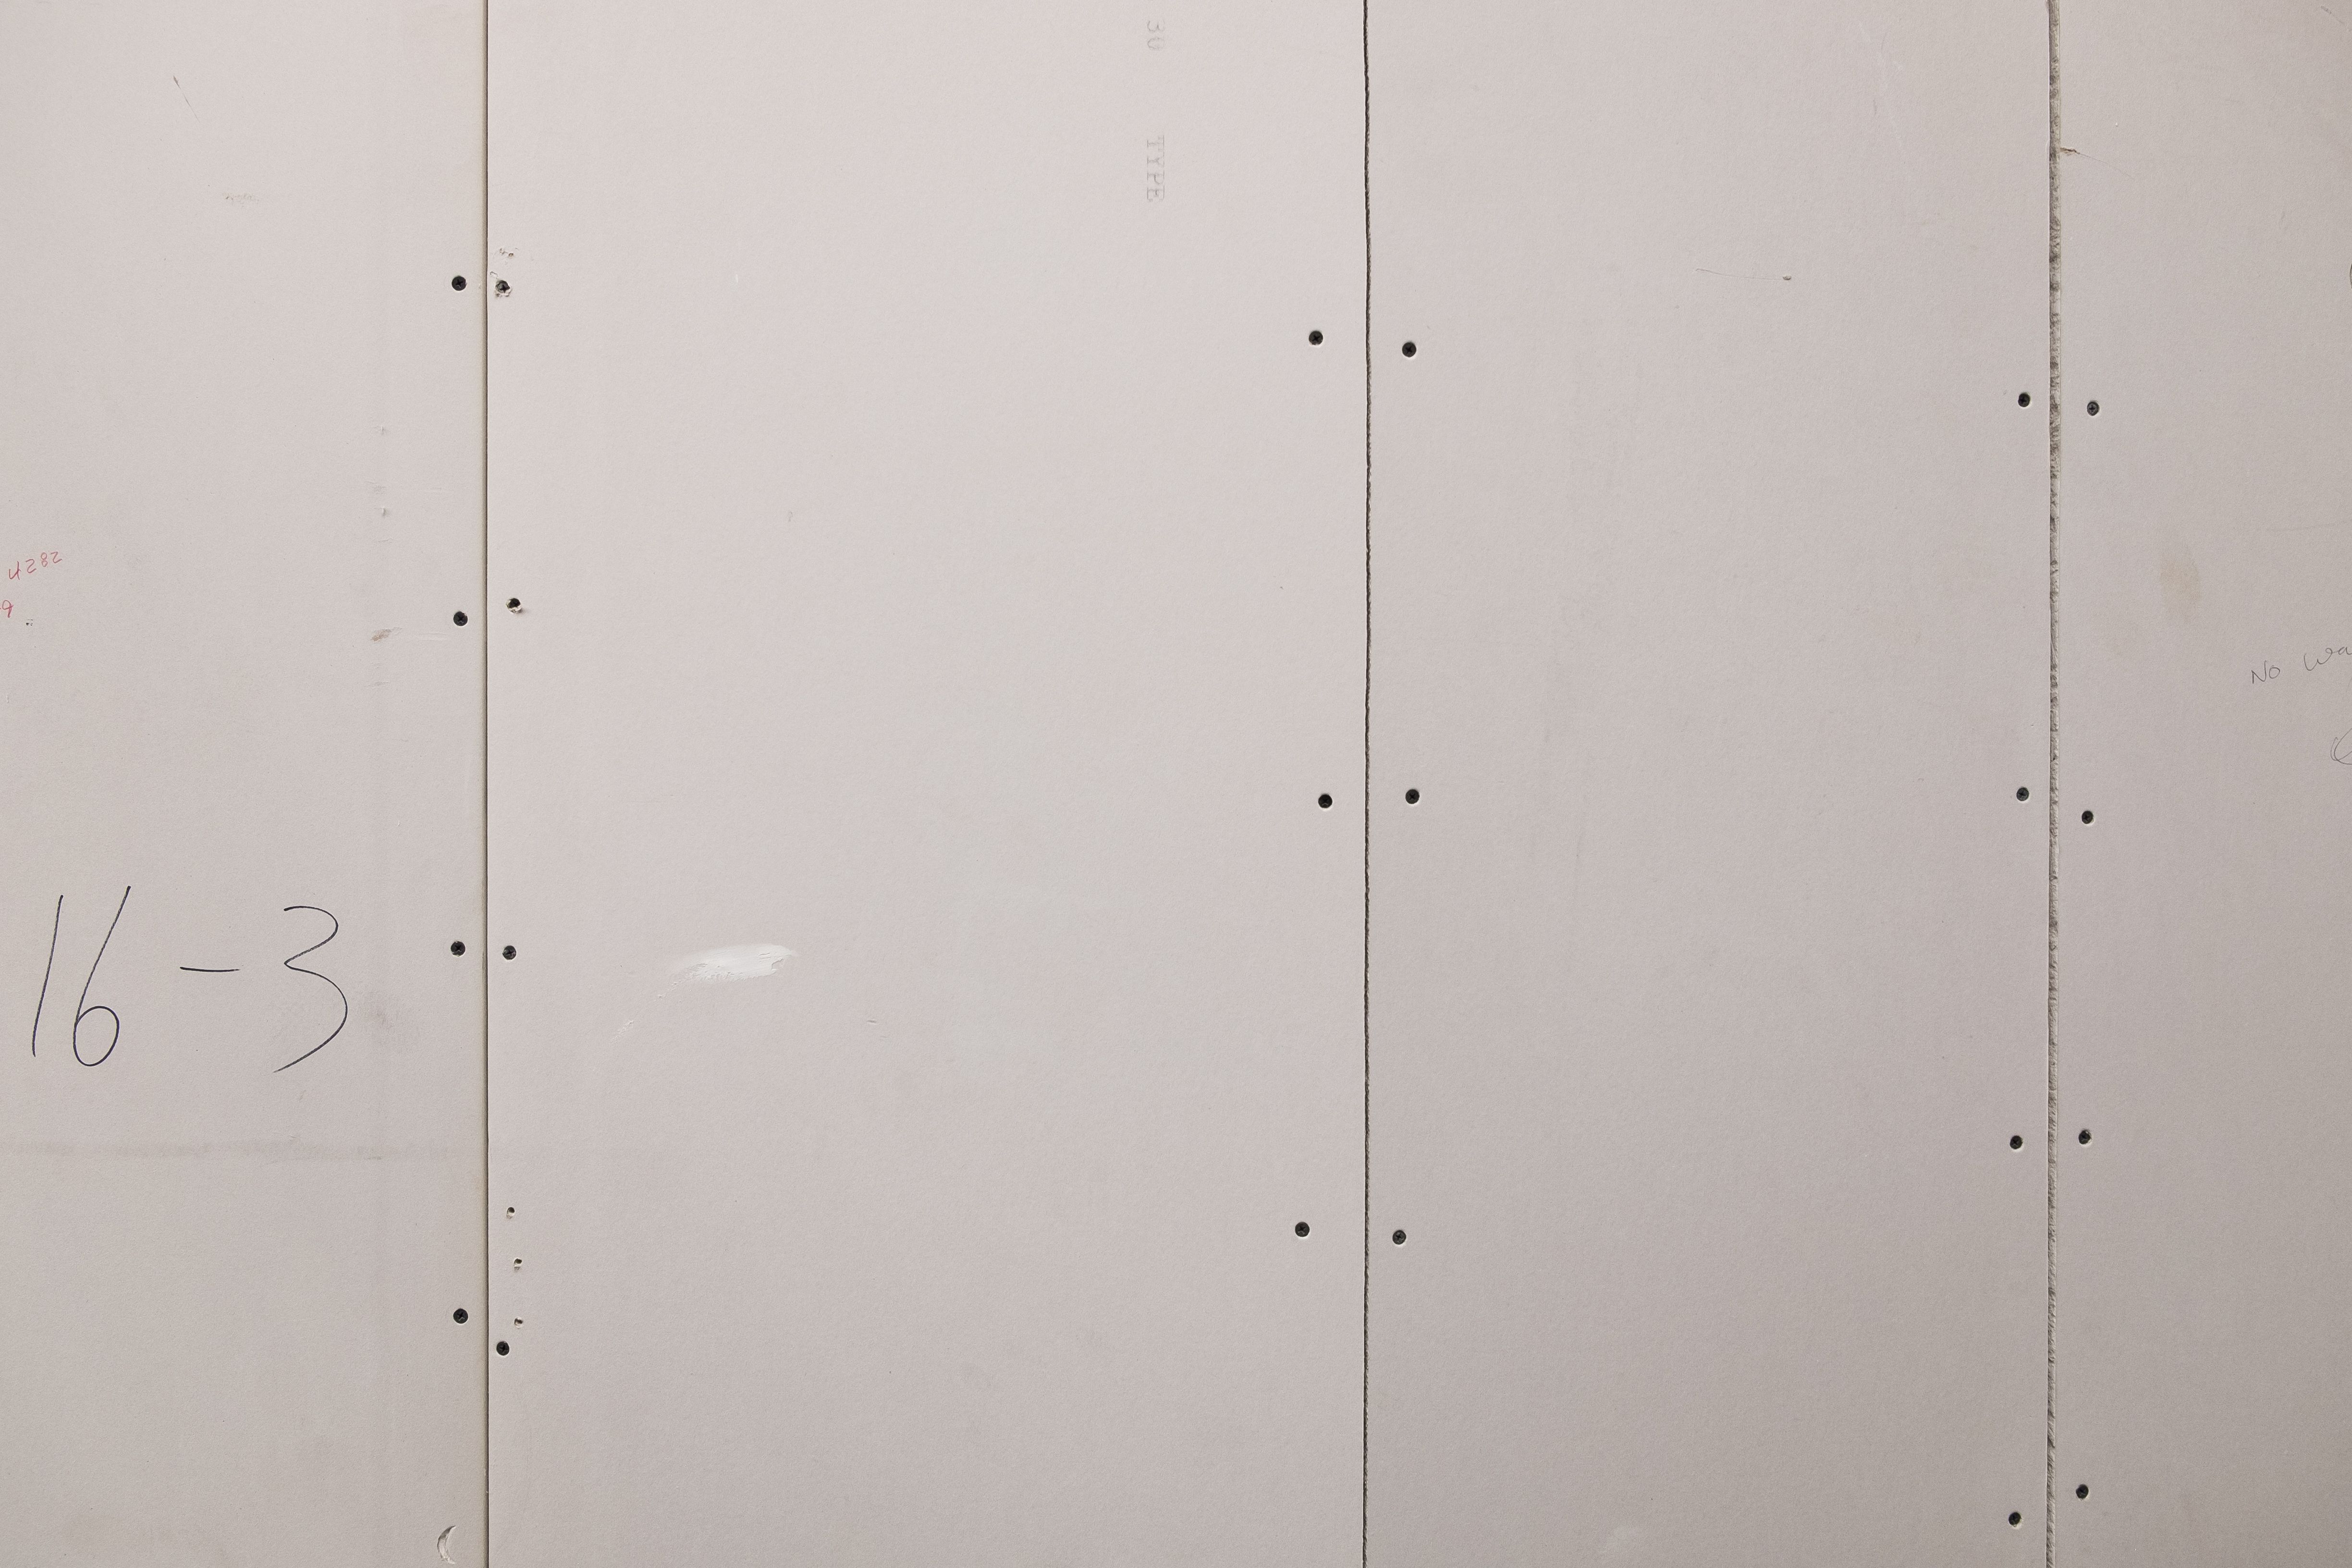
Patching a hole in drywall might seem like a daunting task, but with the right tools and guidance, you can easily fix it yourself. Whether it’s from an accidental bump or the removal of a wall fixture, holes in drywall are a common issue in homes. In this guide, we will walk you through each step of the process, ensuring your wall looks as good as new.
Gathering Your Tools and Materials
Before you start the repair process, it's essential to gather all the necessary tools and materials. Here's what you'll need:
- Drywall patch or mesh tape
- Joint compound
- Putty knife
- Sandpaper (medium and fine grit)
- Primer and paint to match your wall
Having everything on hand will make the process smoother and more efficient. Preparation is key when tackling any DIY project.
Preparing the Area
Start by cleaning the area around the hole. Use a damp cloth to wipe away any dust or debris. If the edges of the hole are rough, gently sand them down to create a smooth surface for the patch. If you're dealing with a large hole, you may need to cut out a square around it to make patching easier.
Once the area is prepped, apply the drywall patch or mesh tape over the hole. Make sure it’s firmly in place. This will provide a base for the joint compound and help prevent future cracks.
Applying the Joint Compound
With your putty knife, apply a generous amount of joint compound over the patch. Spread it evenly, feathering out the edges to blend with the surrounding wall. Let the compound dry completely before proceeding to the next step. Depending on the compound used, this could take a few hours or overnight.

Sanding and Smoothing
After the joint compound has dried, use medium-grit sandpaper to smooth out any rough areas or ridges. Follow up with fine-grit sandpaper for a polished finish. The goal is to make the patched area indistinguishable from the rest of the wall.
Be sure to wipe away any dust with a clean, damp cloth before moving on to painting. A smooth surface will ensure better paint adherence and a more professional-looking result.
Priming and Painting
Before painting, apply a coat of primer to the patched area. This will help the paint adhere properly and ensure that it matches the rest of your wall. Once the primer is dry, paint over it with your chosen wall color. You may need to apply two coats for full coverage.
Final Touches
After the paint has dried, inspect your work for any imperfections. If needed, make minor adjustments with additional sanding or touch-up paint. With the right care and attention to detail, your wall should look flawless.
Patching drywall yourself not only saves money but also gives you a sense of accomplishment. With this step-by-step guide, you can confidently tackle any small wall repairs in your home.