
Expert Tips for DIY Drywall Patching


Understanding Drywall Patching Basics
Drywall patching is an essential skill for any DIY enthusiast. Whether you're dealing with small holes from picture frames or larger damage from home improvements gone awry, learning how to patch drywall can save you both time and money. Fortunately, with the right tools and techniques, anyone can achieve a smooth, professional finish.
Essential Tools and Materials
Before diving into the patching process, it's crucial to gather the necessary tools and materials. Some of the basic items you'll need include:
- Utility knife: For cutting the drywall patch to size.
- Drywall joint compound: Also known as mud, this creates a smooth finish.
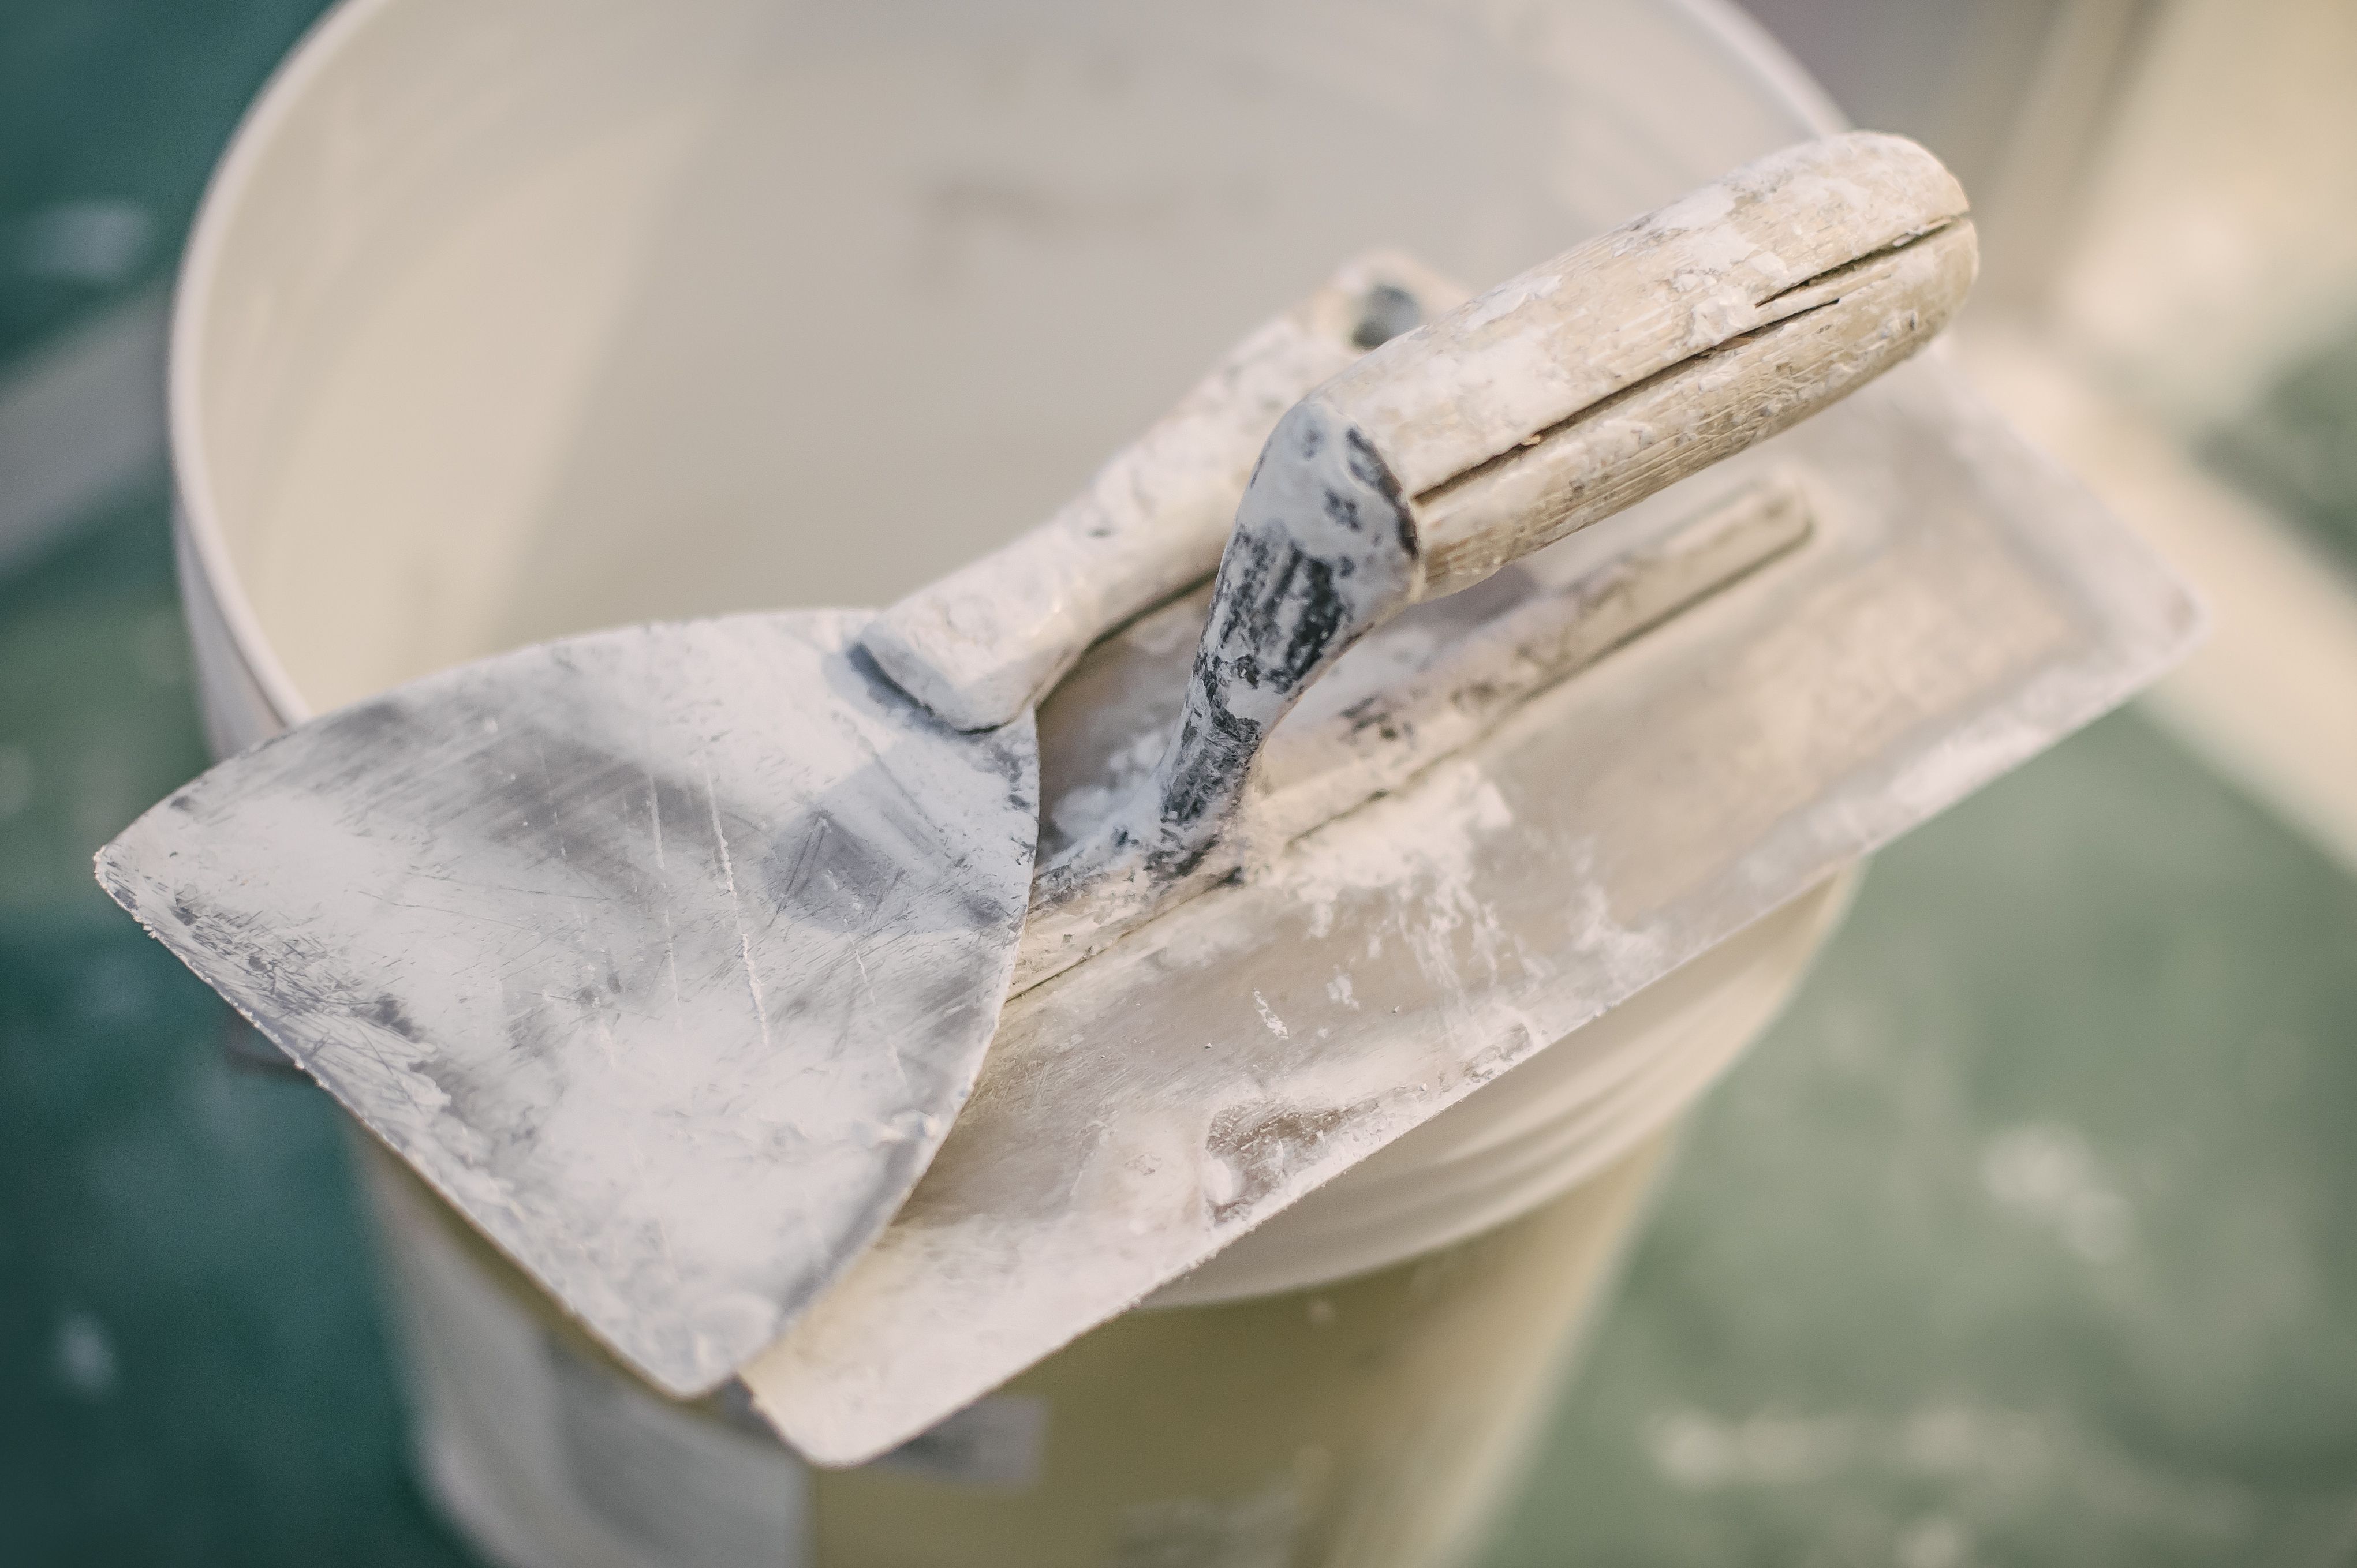
- Putty knife: To apply and smooth the joint compound.
- Sandpaper: For smoothing out the dried compound.
- Mesh or paper tape: To reinforce the patch.
Step-by-Step Patching Process
Once you've assembled your tools, it's time to start patching. Here's a step-by-step guide to help you through the process:
- Clean the area: Remove any debris or loose drywall around the hole.
- Cut a patch: Use your utility knife to cut a piece of drywall slightly larger than the hole.
- Secure the patch: Place the patch over the hole and secure it with mesh or paper tape.
Smoothing and Finishing
After securing your patch, the next critical step is applying the joint compound. This process involves covering the tape and feathering out the edges to blend seamlessly with the existing wall.
Apply the compound: Using a putty knife, apply a thin layer of joint compound over the patch and tape. Make sure it's smooth and even. Allow it to dry completely before proceeding to the next step.
Sanding for Perfection
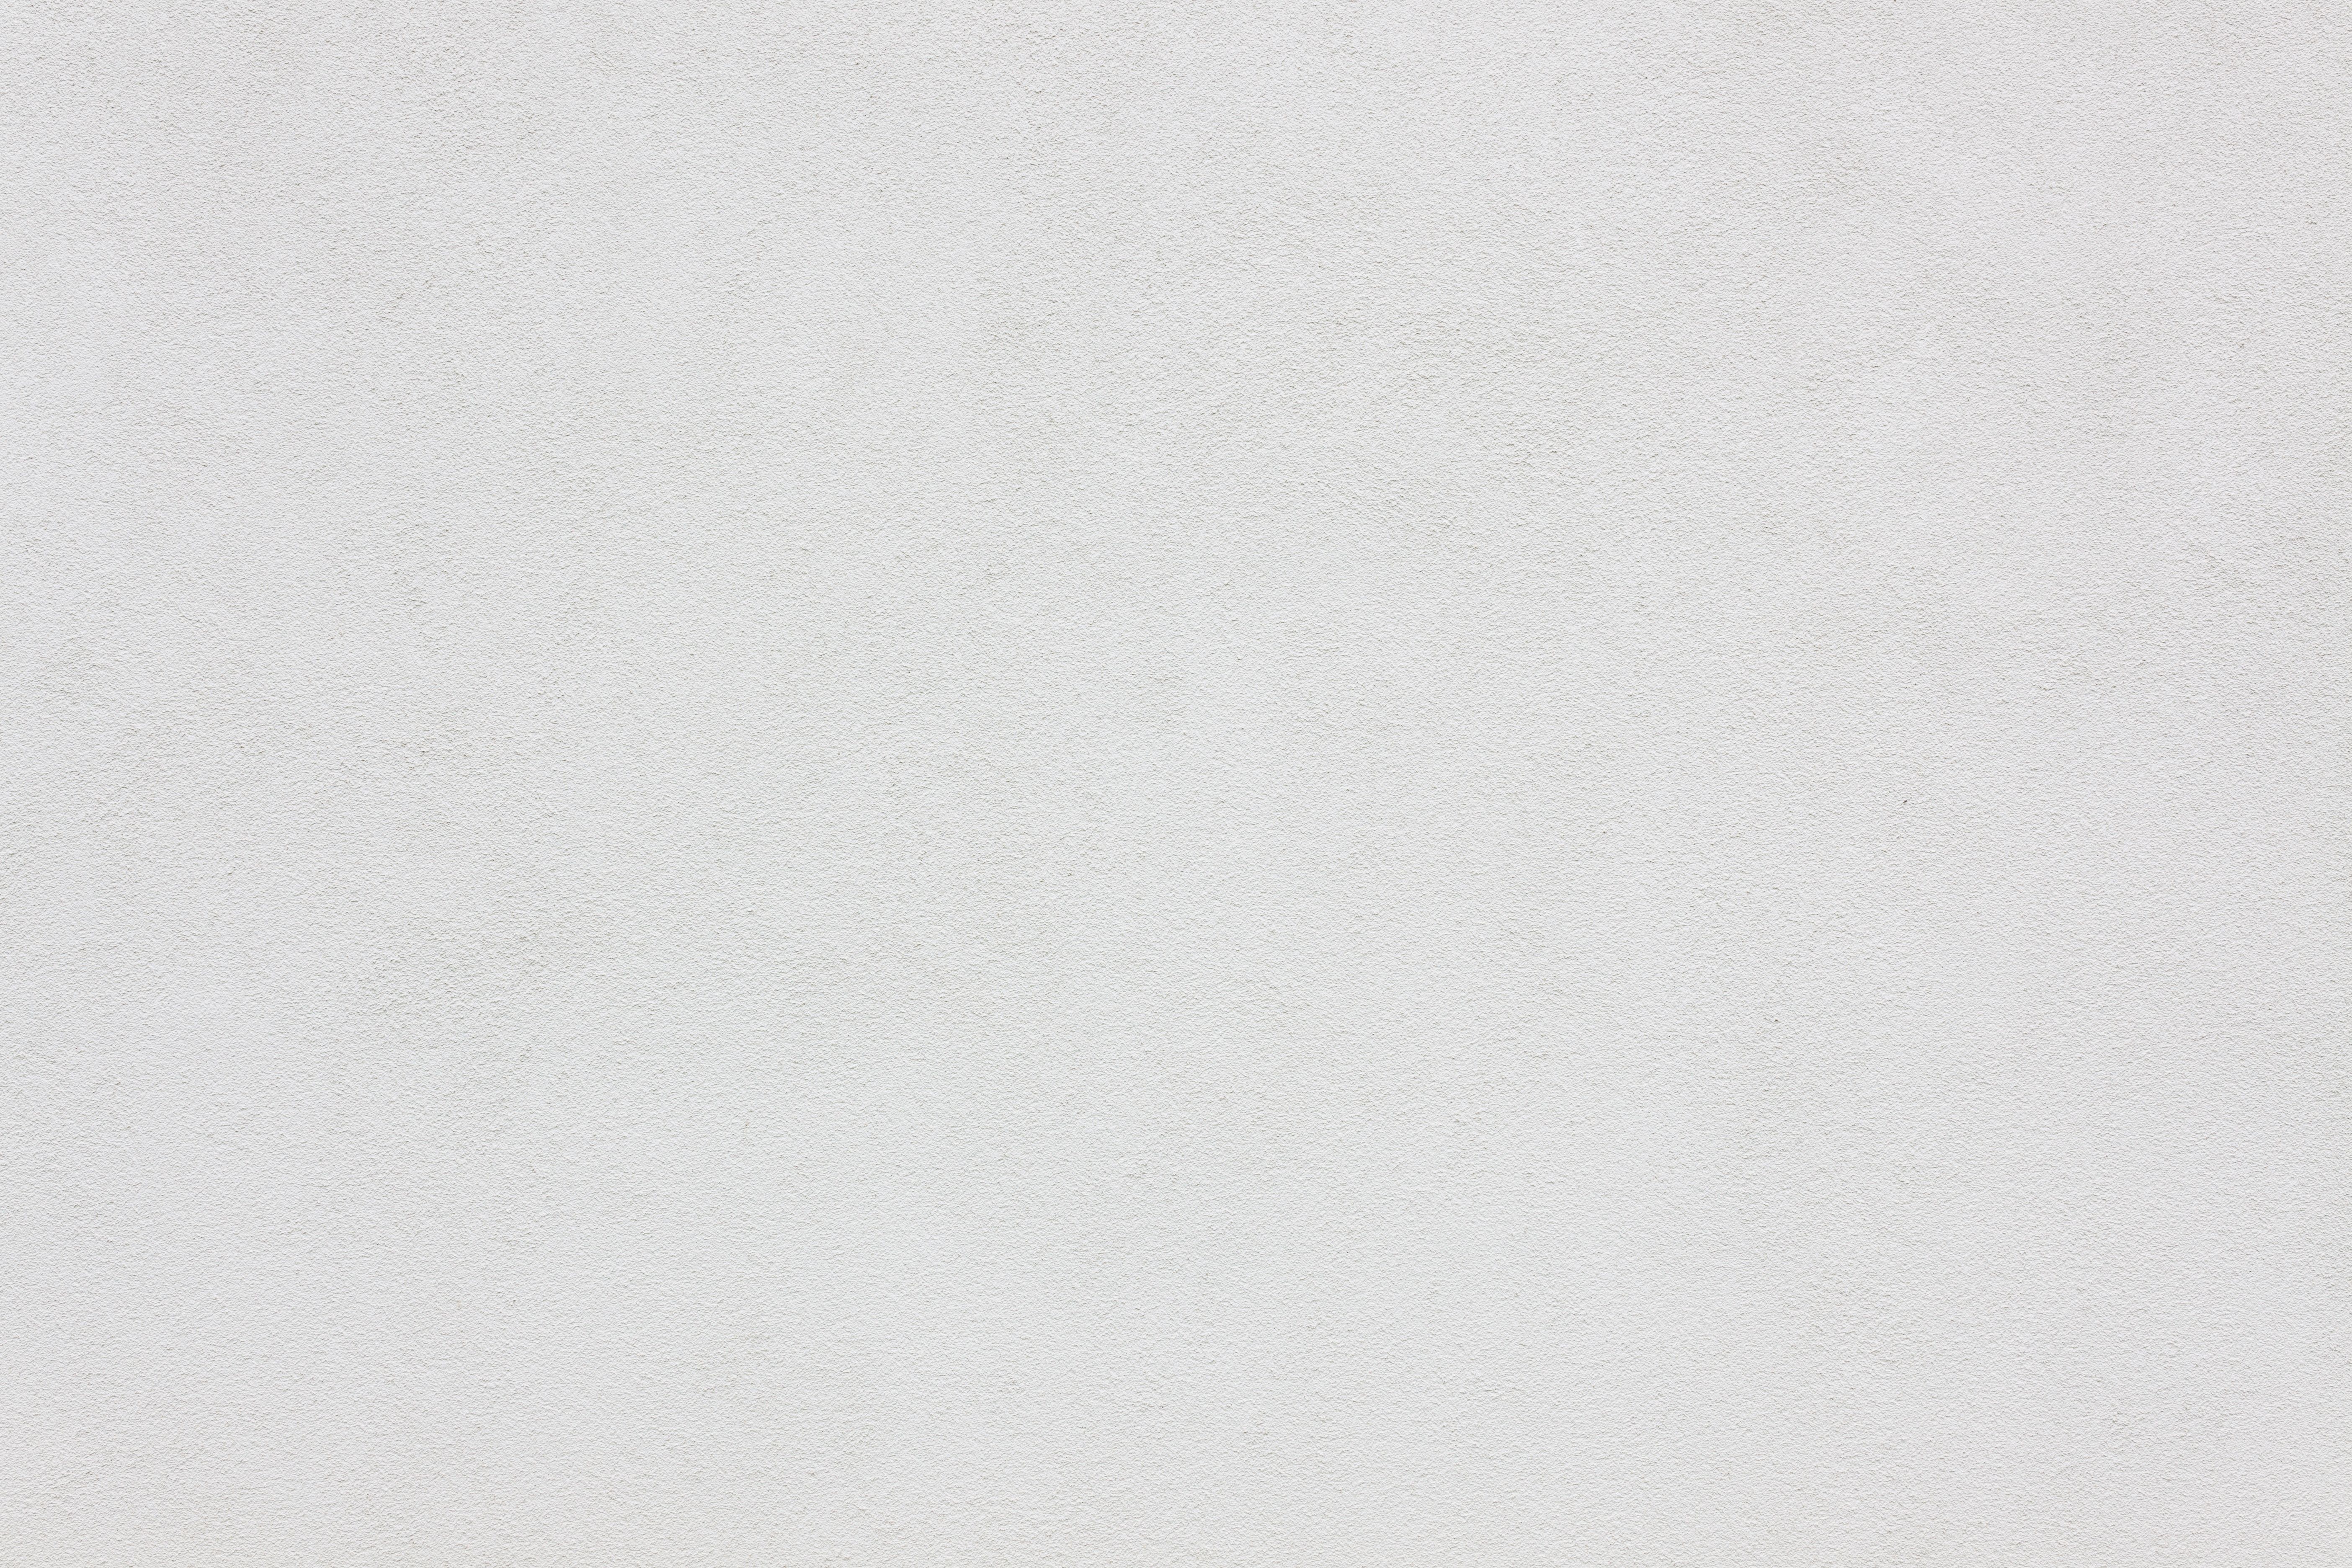
Sanding is where you achieve that flawless finish. Once the joint compound is dry, use sandpaper to gently smooth out any ridges or bumps. Be careful not to sand too much, as this can damage the surrounding drywall.
Final Touches
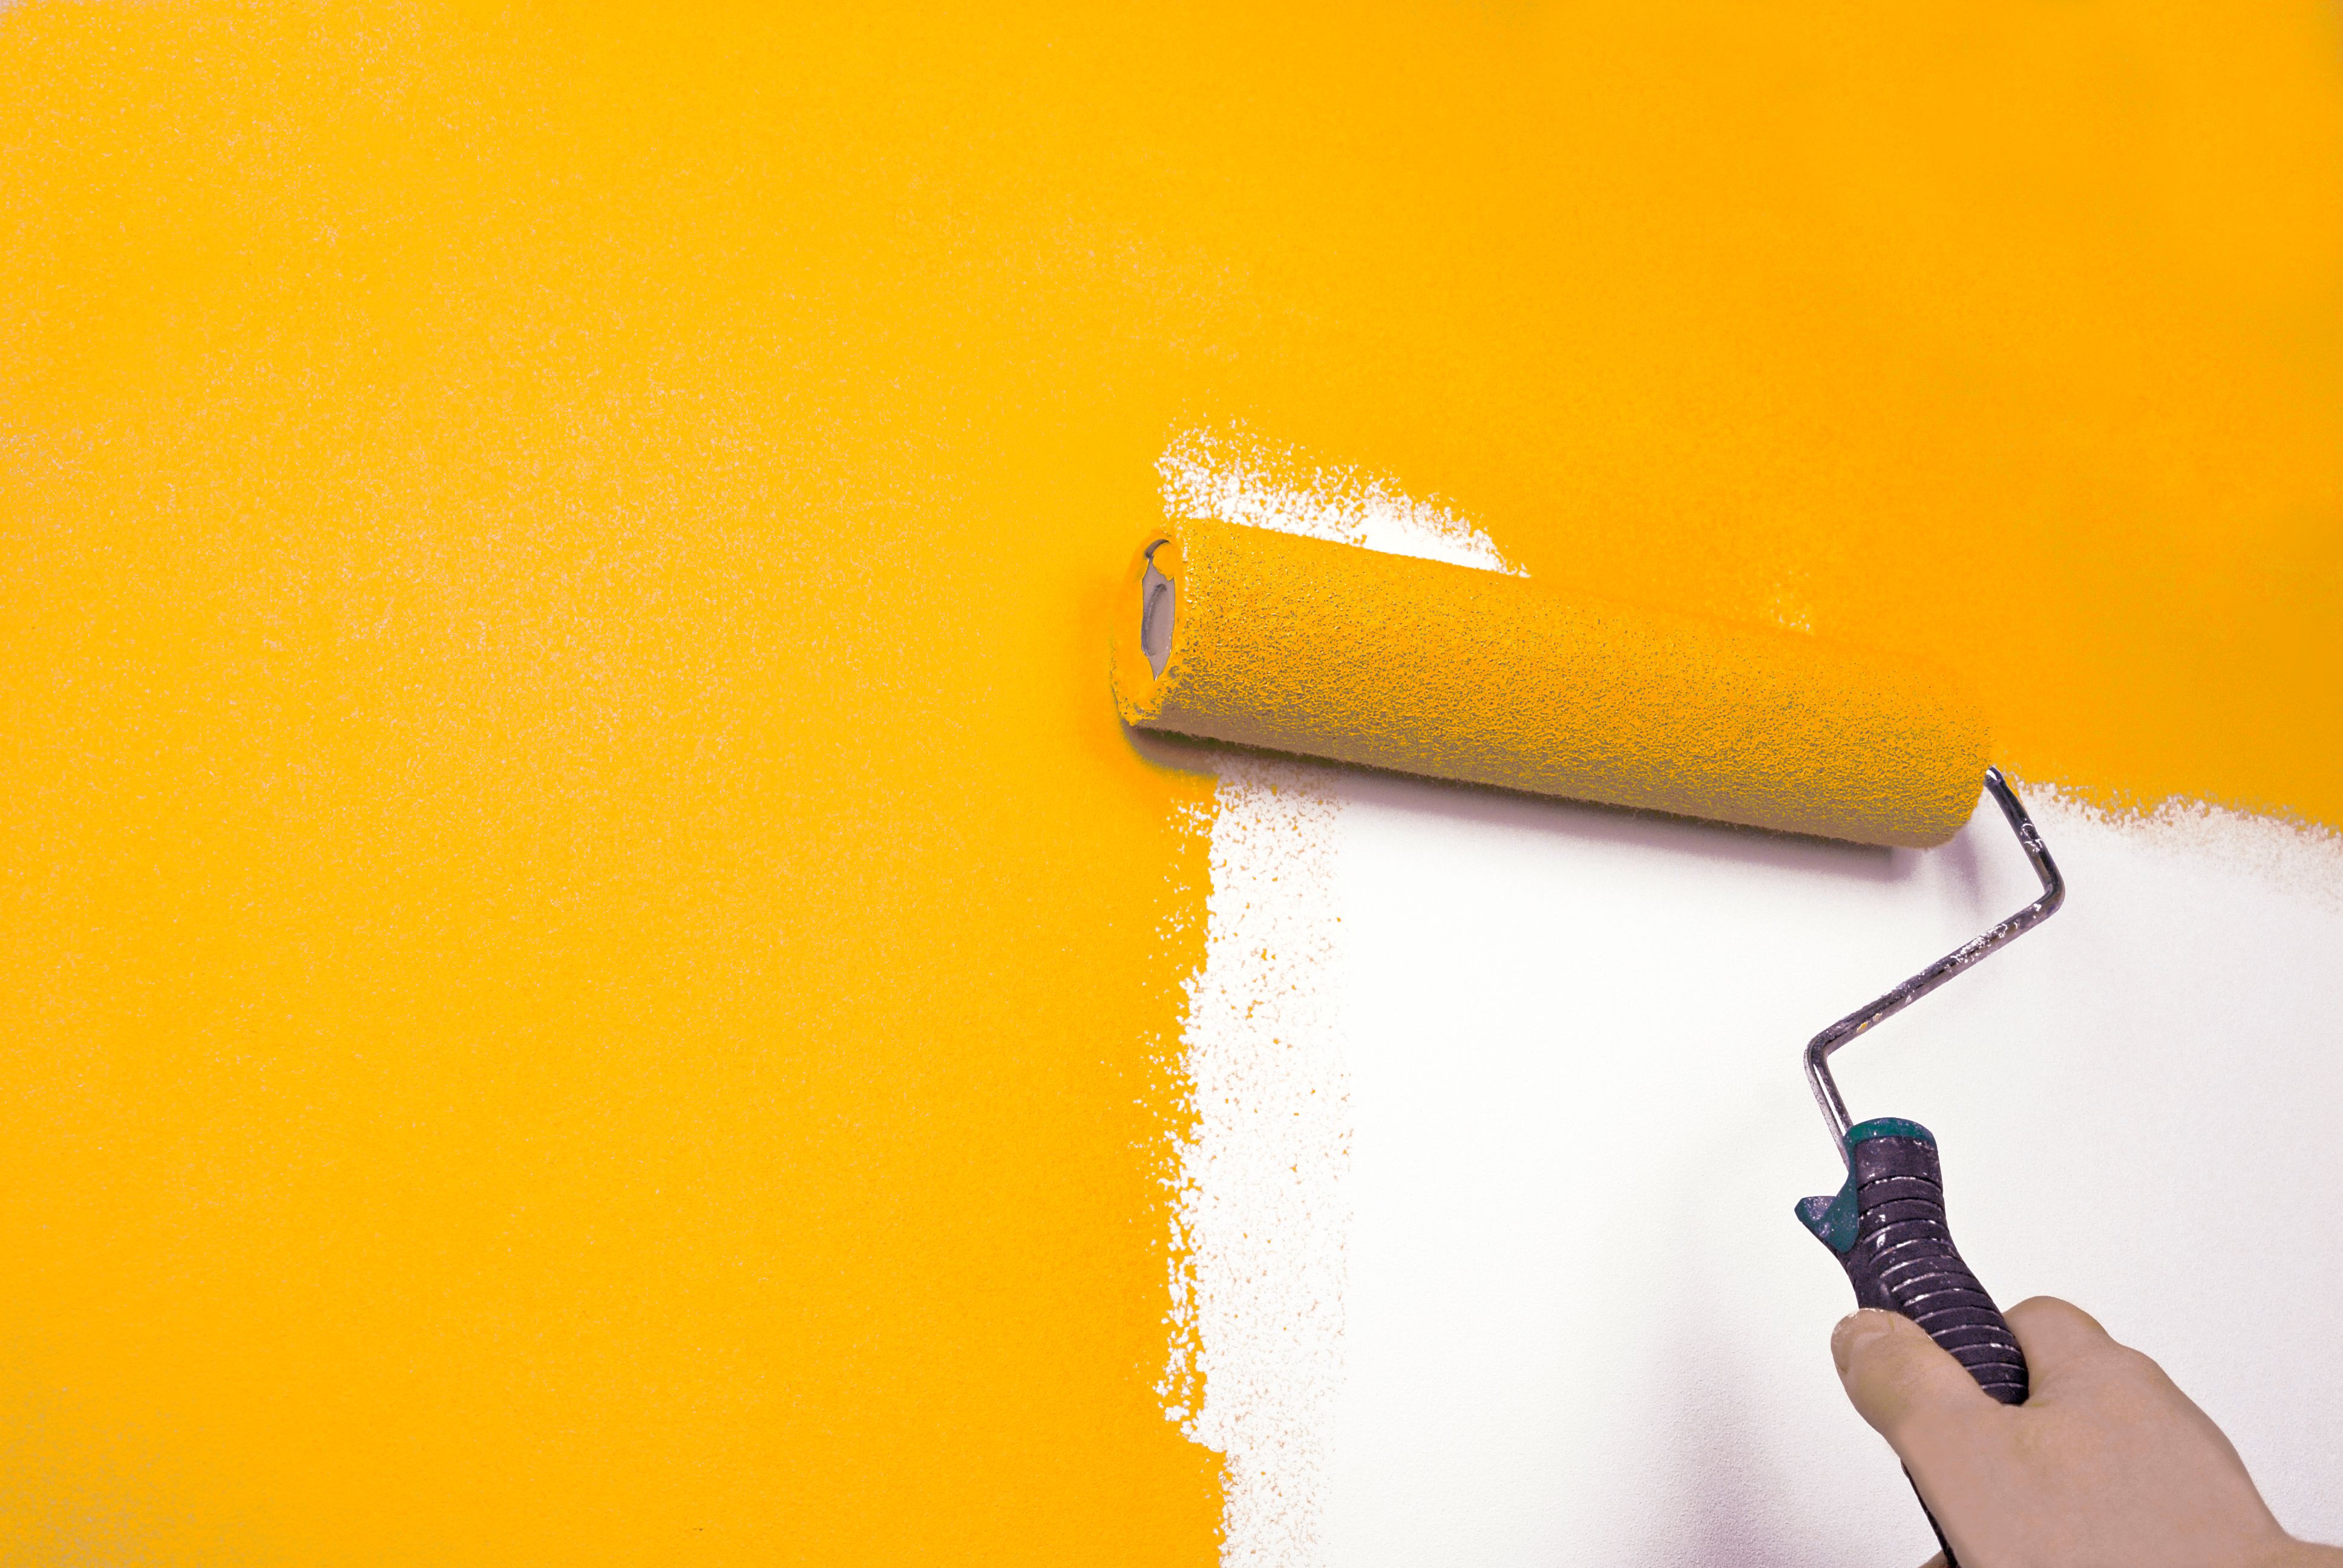
After sanding, you may need to apply a second coat of joint compound for optimal smoothness. Repeat the process of applying, drying, and sanding until the patched area blends perfectly with the wall. Finally, paint over the patch to match your existing wall color.
With these expert tips, you'll be well on your way to mastering DIY drywall patching. Remember, practice makes perfect, so don't be discouraged by minor imperfections on your first few attempts. Happy patching!