
DIY Drywall Repair: Tips and Tricks from a US Specialist


Understanding Drywall Repair
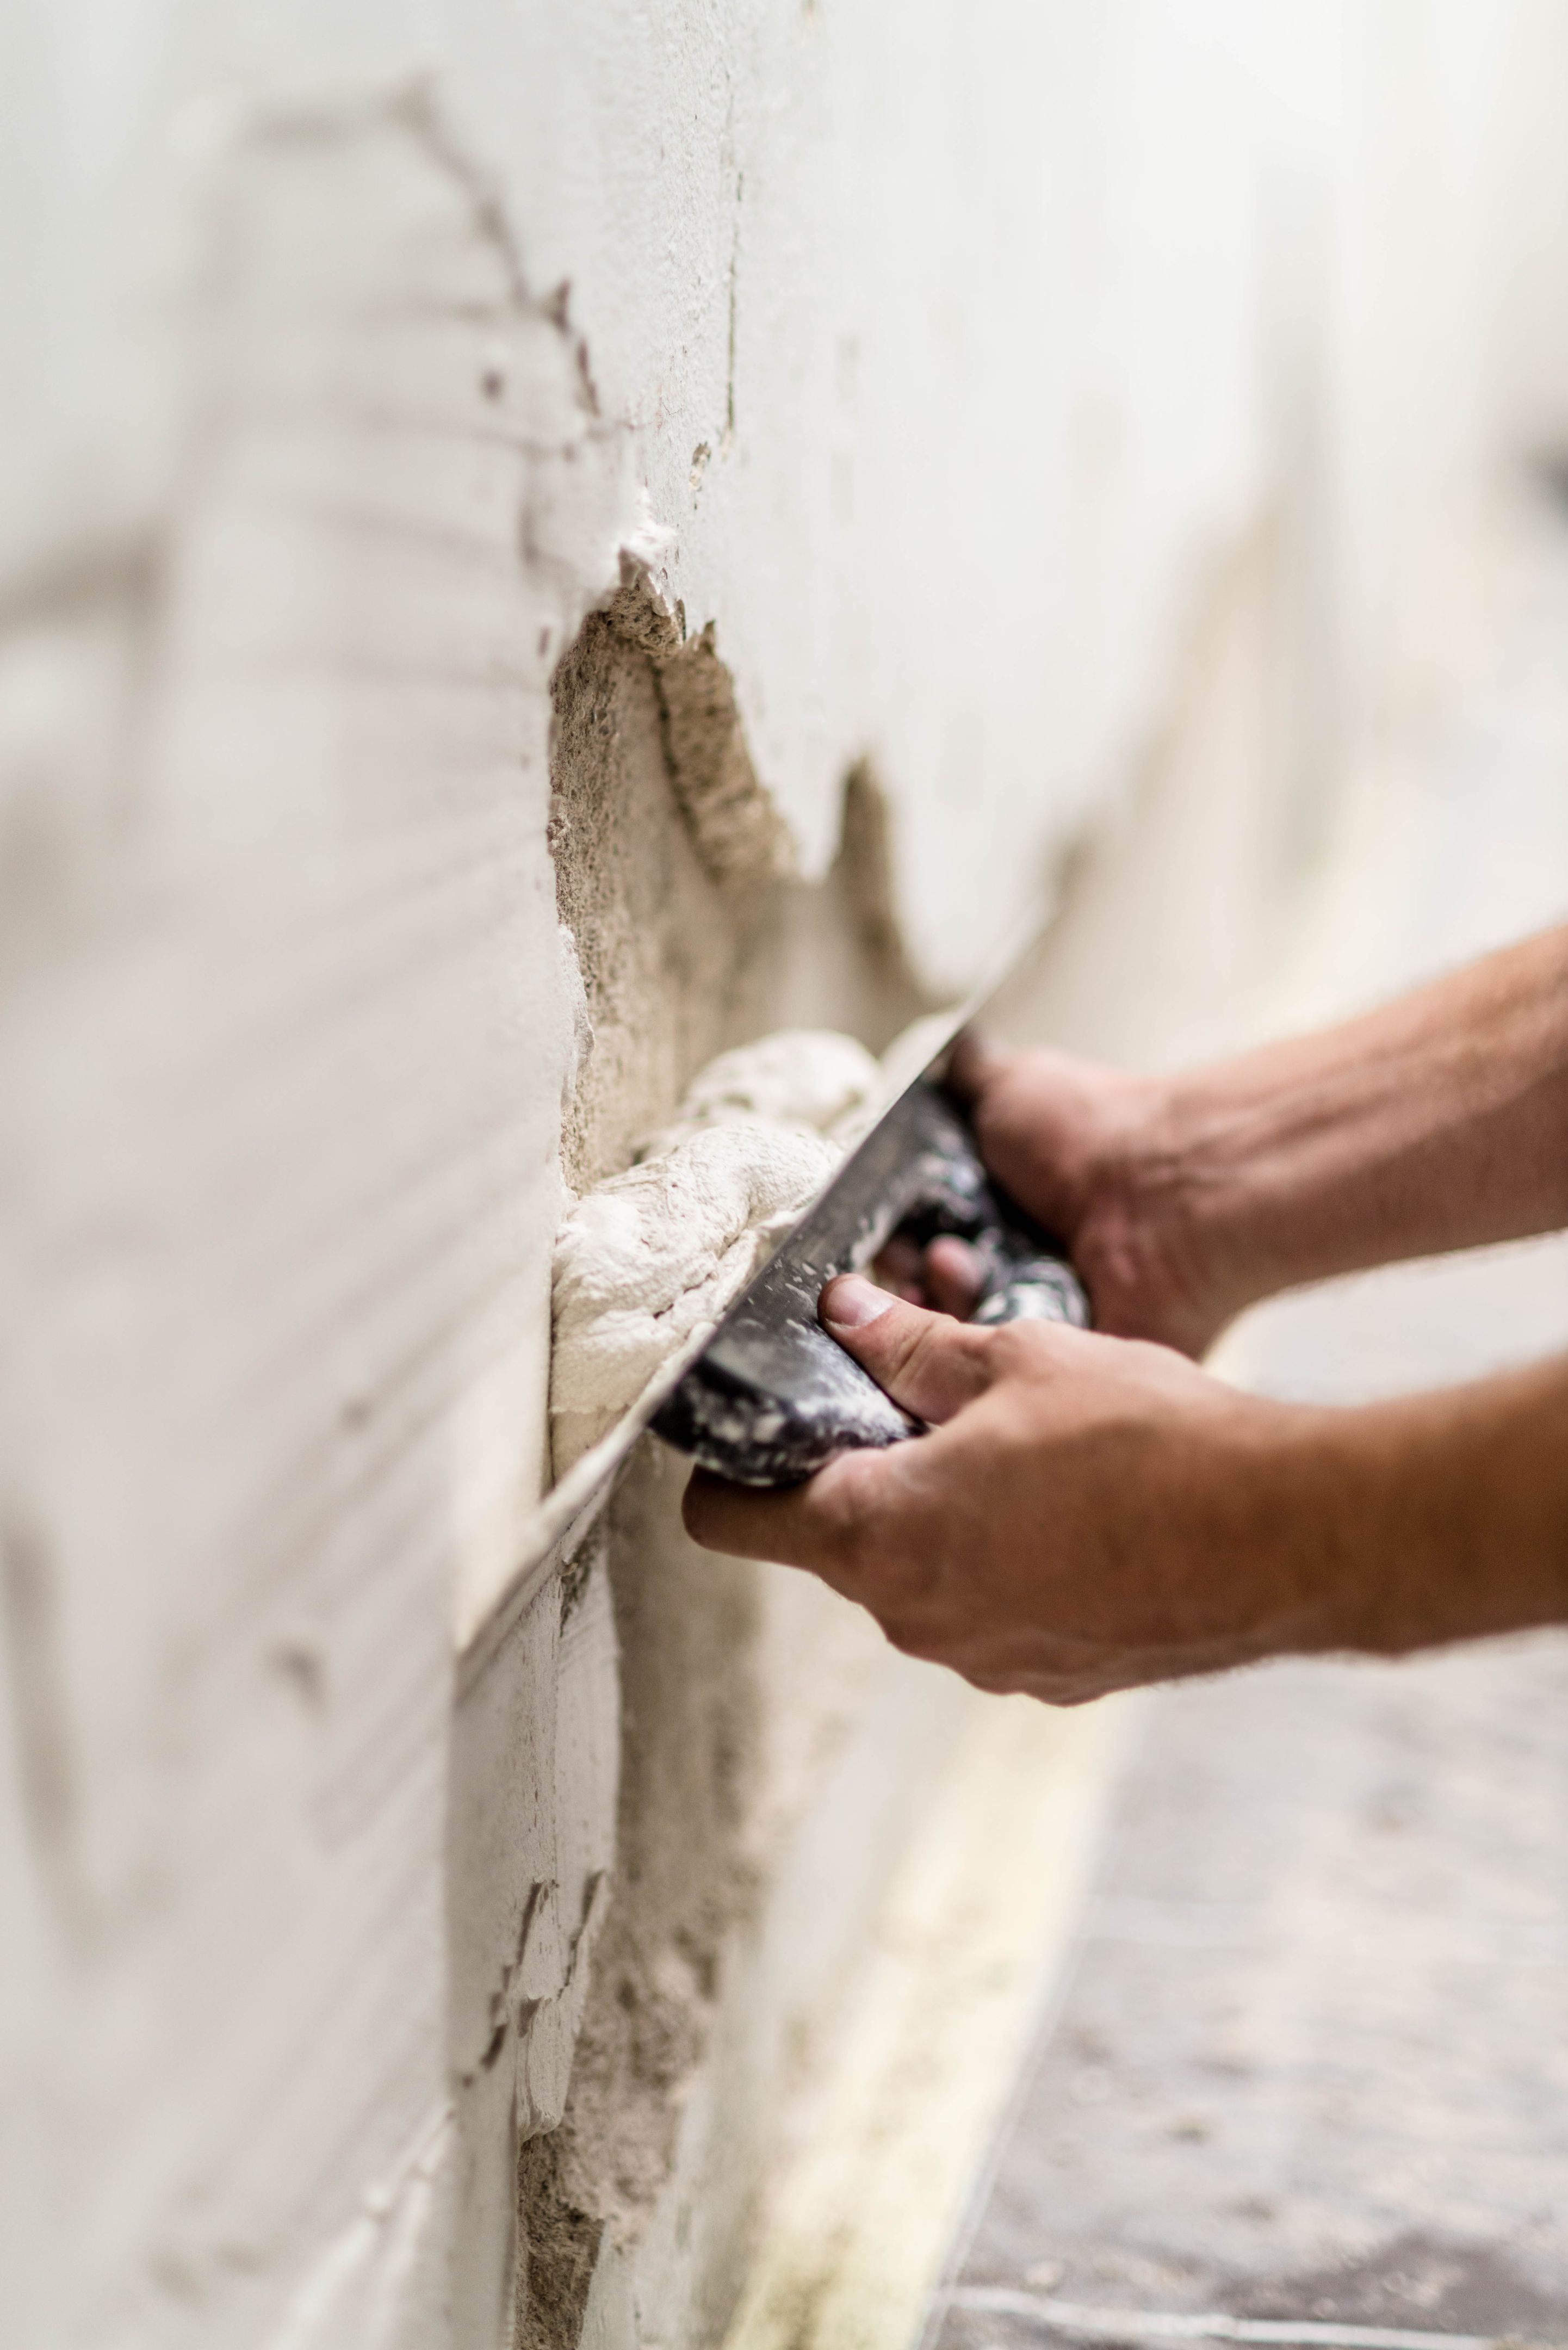
Drywall, also known as gypsum board or plasterboard, is a popular material for creating interior walls and ceilings. While durable, it's not immune to damage. Whether it's accidental holes, cracks, or dents, drywall issues are common in many homes. Fortunately, with a few tools and some patience, you can fix these problems yourself. This guide will provide you with essential tips and tricks for successful DIY drywall repair.
Gathering Your Tools and Materials
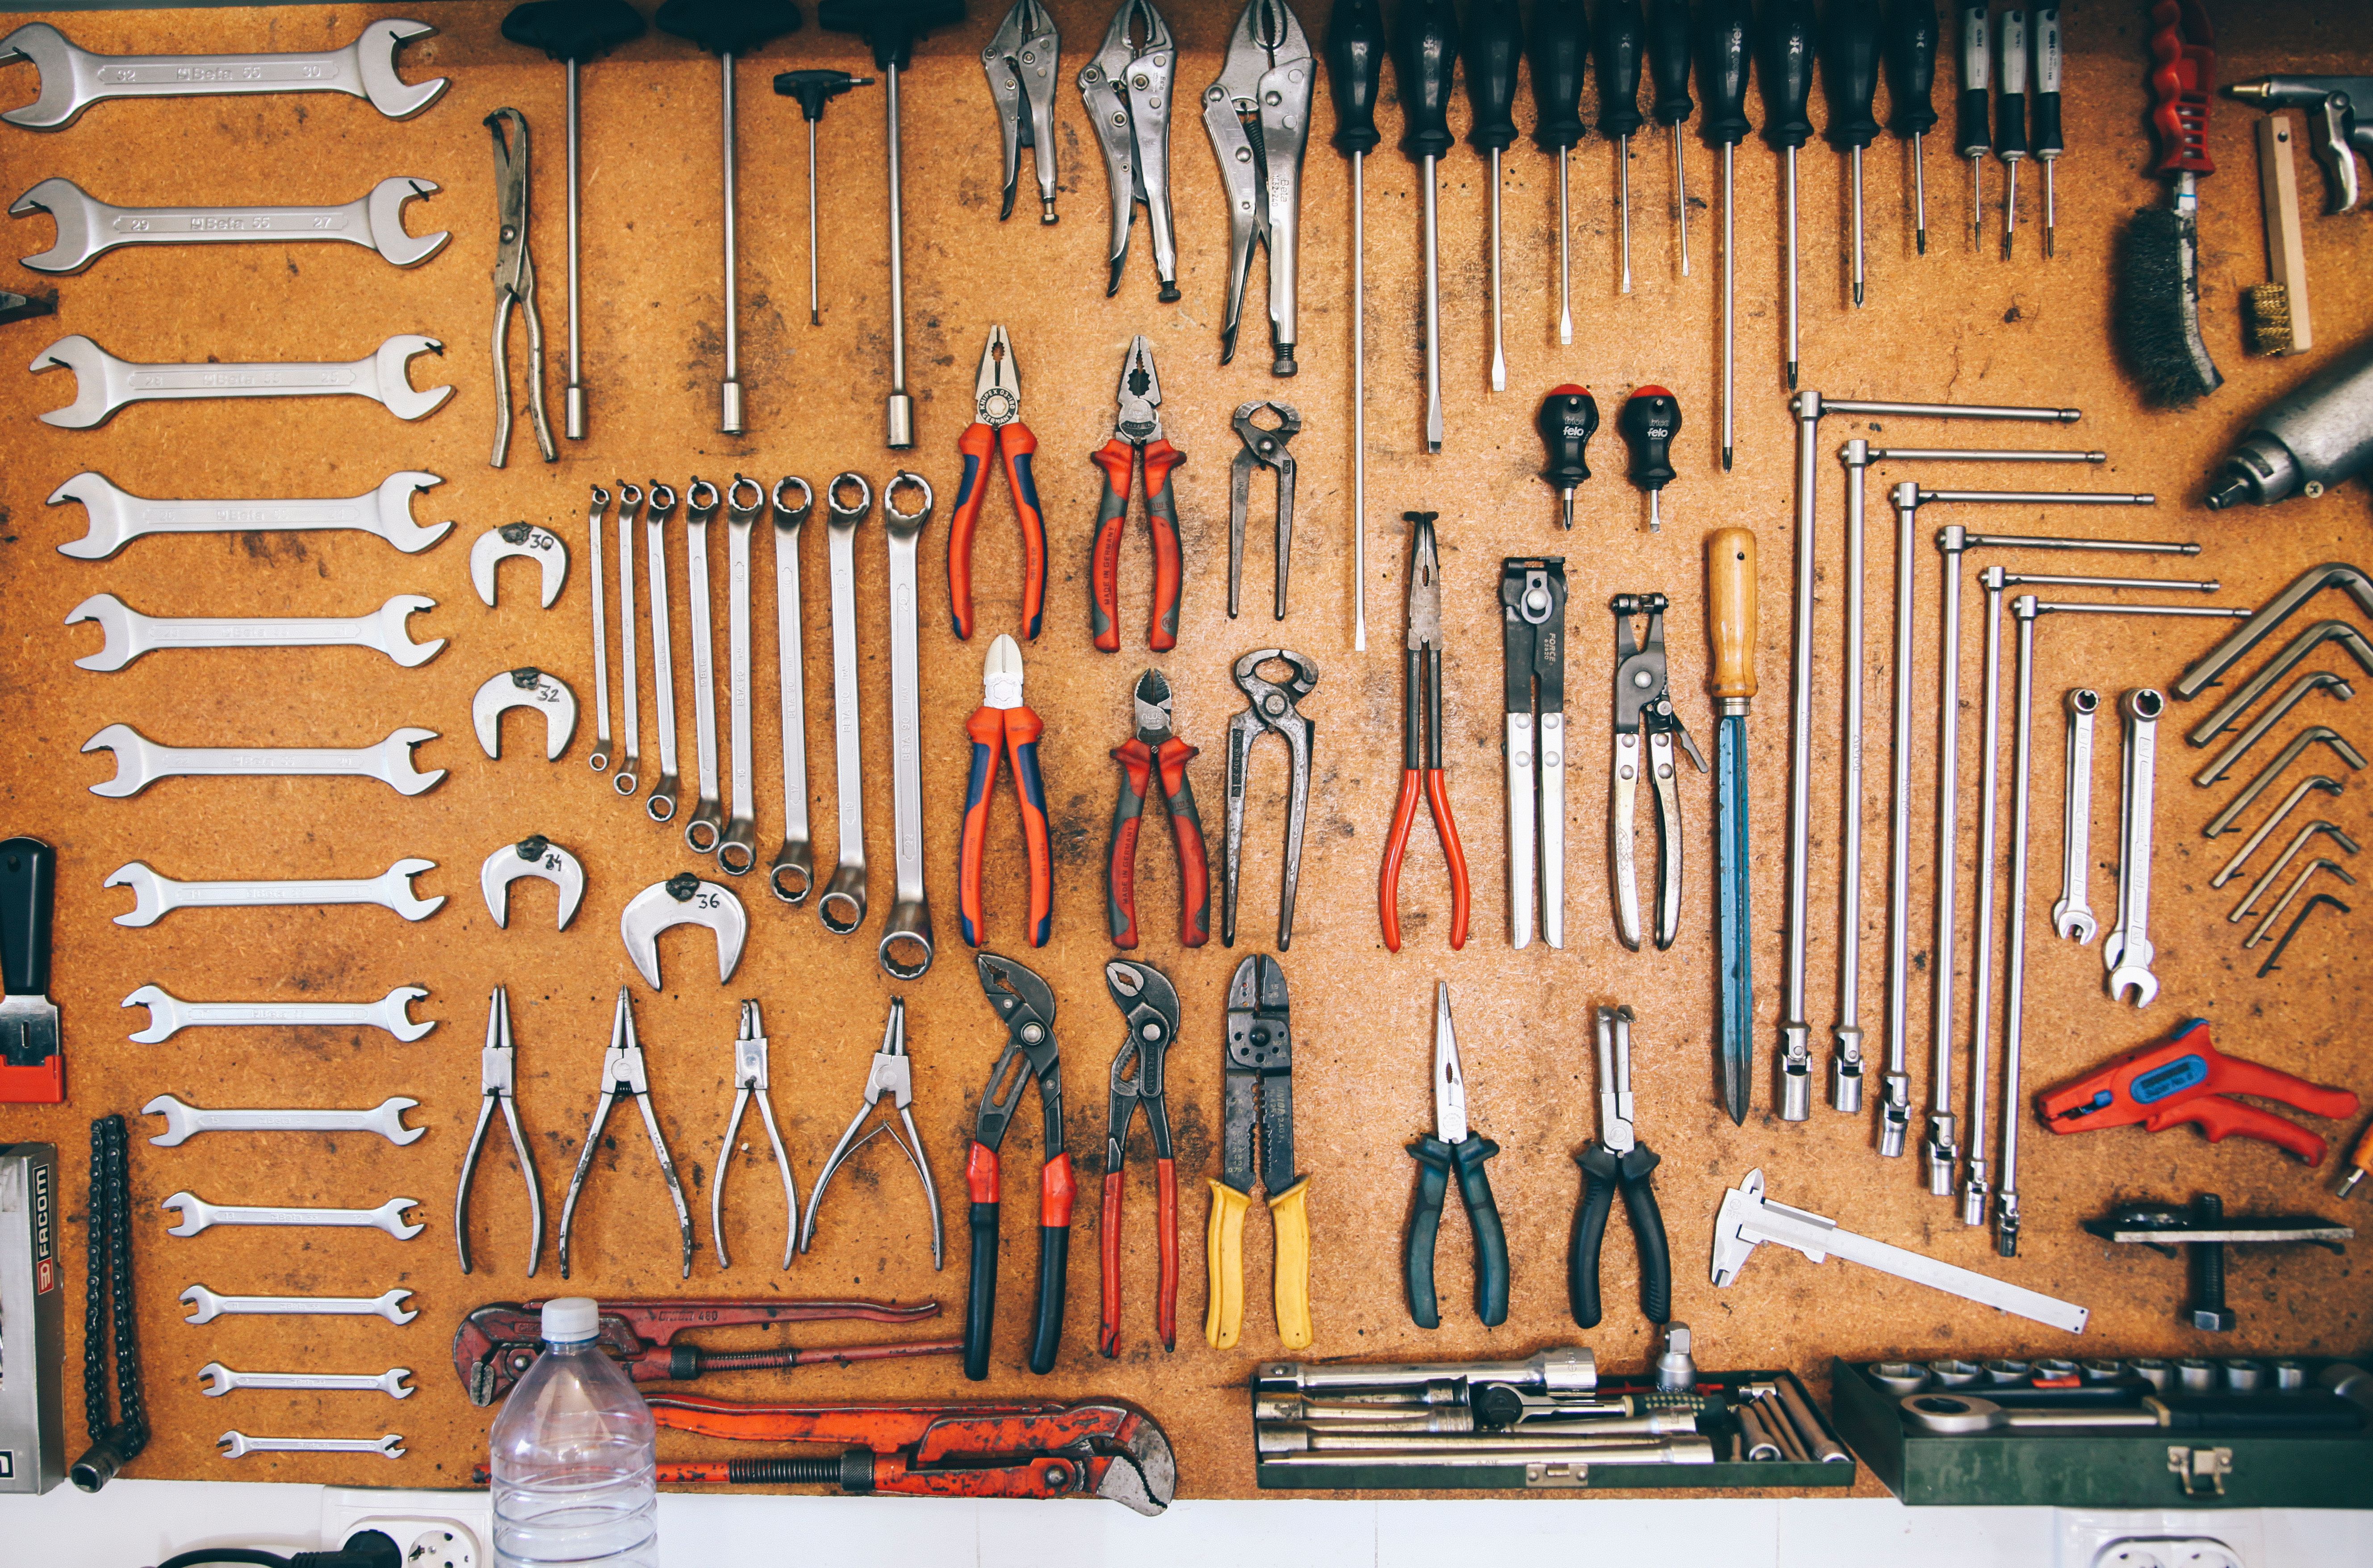
Before diving into the repair process, it’s crucial to have the right tools and materials on hand. Here's a list of essentials you'll need:
- Joint Compound: Also known as mud, this is used to fill holes and smooth surfaces.
- Drywall Tape: Helps reinforce joints and seams.
- Putty Knife: For applying joint compound.
- Sandpaper: To smooth out the repaired area.
- Utility Knife: For cutting the drywall if necessary.
Repairing Small Holes and Dents
Small holes and dents in drywall are typically easy to fix. Start by cleaning the area to remove any dust or debris. Use a putty knife to apply joint compound over the hole, spreading it evenly. Allow the compound to dry completely before sanding it smooth. If needed, apply a second coat of compound for a seamless finish. Once dry, sand again until the area is smooth and level with the surrounding wall.
Fixing Large Holes
For larger holes, you’ll need a slightly more involved approach. Begin by cutting a piece of drywall that’s slightly larger than the hole. Hold this piece over the hole and trace around it with a pencil. Cut along the traced lines using a utility knife or drywall saw. Now, fit the drywall patch into the hole. Secure it with screws if needed. Apply drywall tape over the seams, then cover with joint compound, feathering out the edges. Let it dry completely before sanding.
Smoothing Out Cracks
Cracks in drywall can occur due to settling or temperature changes. Start by widening the crack slightly with a utility knife to create a V-shape, which helps the joint compound adhere better. Apply the compound with a putty knife, pressing it into the crack. Once dry, sand the area to achieve a smooth finish. For best results, use mesh tape over the crack before applying the compound.

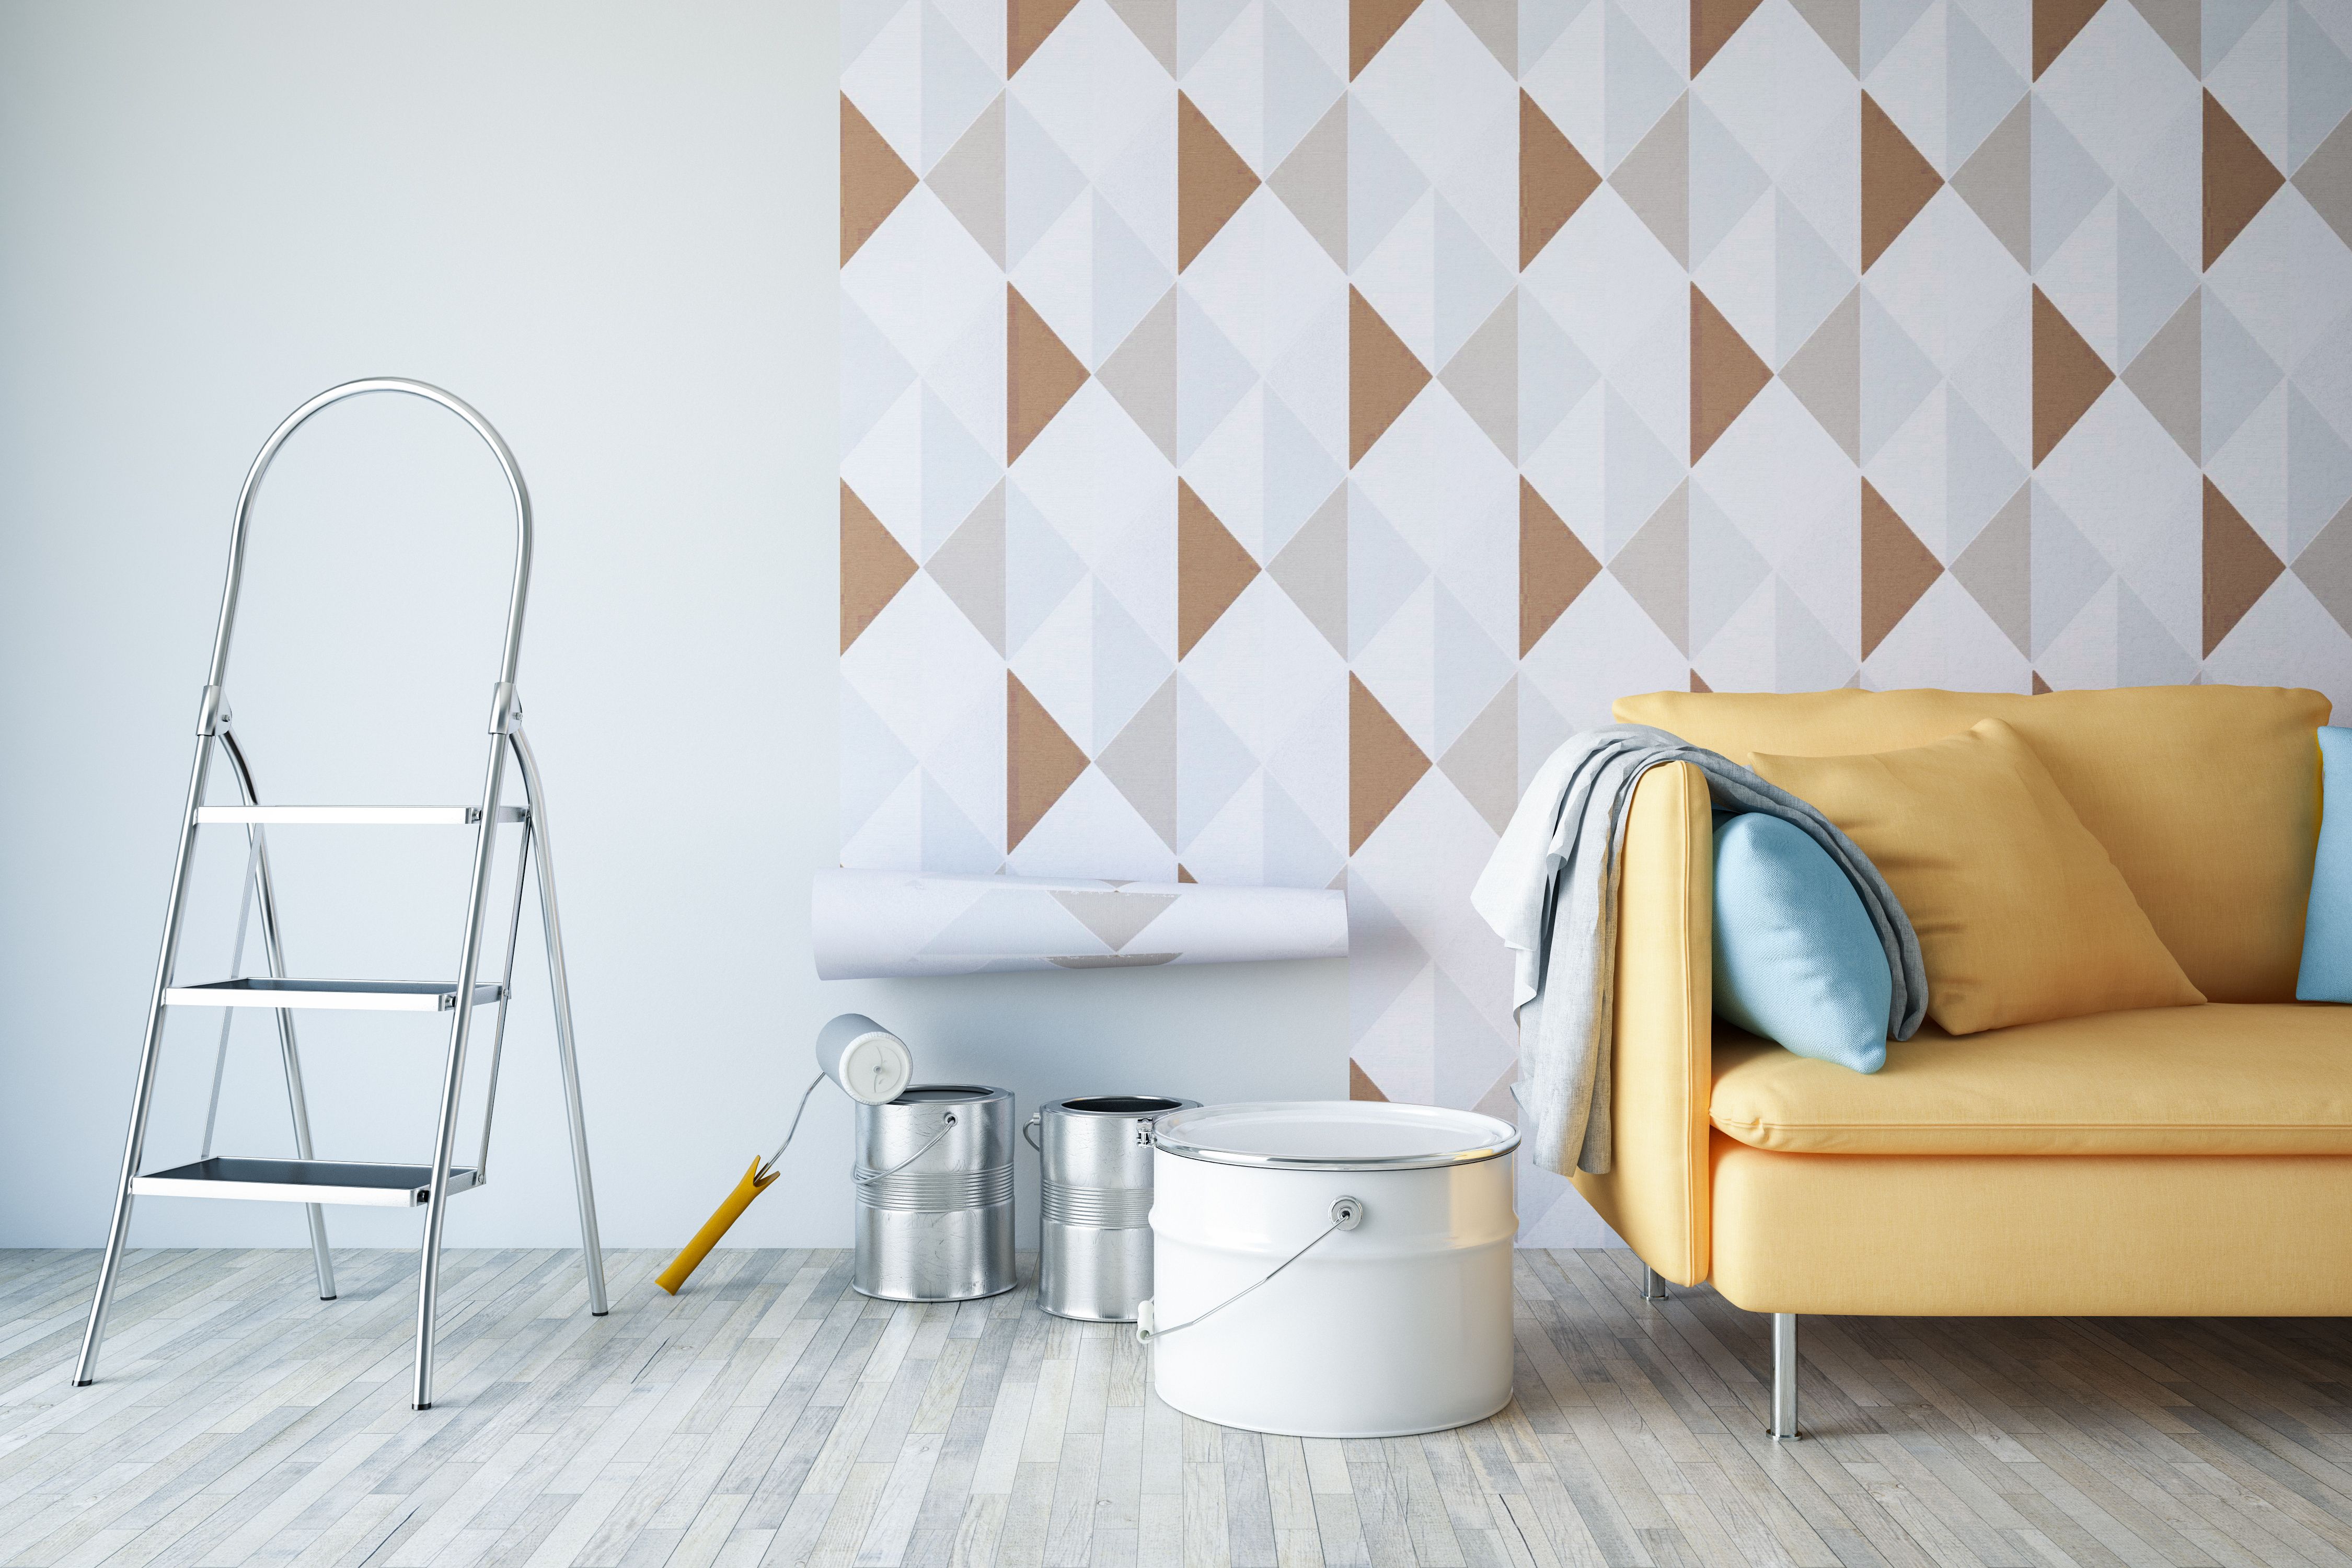
Finishing Touches
After your repair work is complete, it’s time to finish up by painting over the repaired area. Choose a matching paint color to ensure a seamless look. Before painting, clean off any dust from sanding and apply a primer if necessary. This step will help the paint adhere better and provide an even finish.
Preventative Measures
To minimize future drywall damage, consider implementing preventative measures. Use doorstops to prevent doors from banging into walls, and install corner guards in high-traffic areas to protect corners from damage. Regularly inspect your walls for signs of wear and address issues promptly to prevent them from worsening.
Conclusion
Tackling drywall repair may seem daunting at first, but with the right guidance and tools, it's a manageable DIY project. By following these tips and tricks from a US specialist, you'll be able to maintain your walls in excellent condition and save on repair costs. So roll up your sleeves and get started on creating smooth, flawless walls in your home!